How to Set Up a Smart Home Camera: Placement, Wi-Fi & Alerts (2026)
Get the mounting spot, Wi-Fi signal, and alert settings right the first time, so notifications tell you something’s actually happening instead of flooding your phone with false alarms.

How We Researched
Steps drawn from Abode’s 2026 Camera Placement Guide and Ring’s official Motion Zones documentation, cross-checked against our own smart home camera reviews. No manufacturer paid for placement.
What You’ll Learn
- Where to mount a camera for real coverage, not just a wide angle
- How to check Wi-Fi signal strength before you drill anything
- How to pair a camera with its app and get notifications working
- How to set motion zones so you’re not alerted every time a car drives by
- Whether local storage or a cloud subscription fits your household
- How to fine-tune sensitivity during the first week
4 cameras referenced in this guide
How do you set up a smart home camera so it actually catches what matters instead of flooding your phone with alerts? Mount location, Wi-Fi strength, and motion-zone settings decide that more than the camera itself does — here’s the order that gets it right the first time.
Choose Where to Mount the Camera
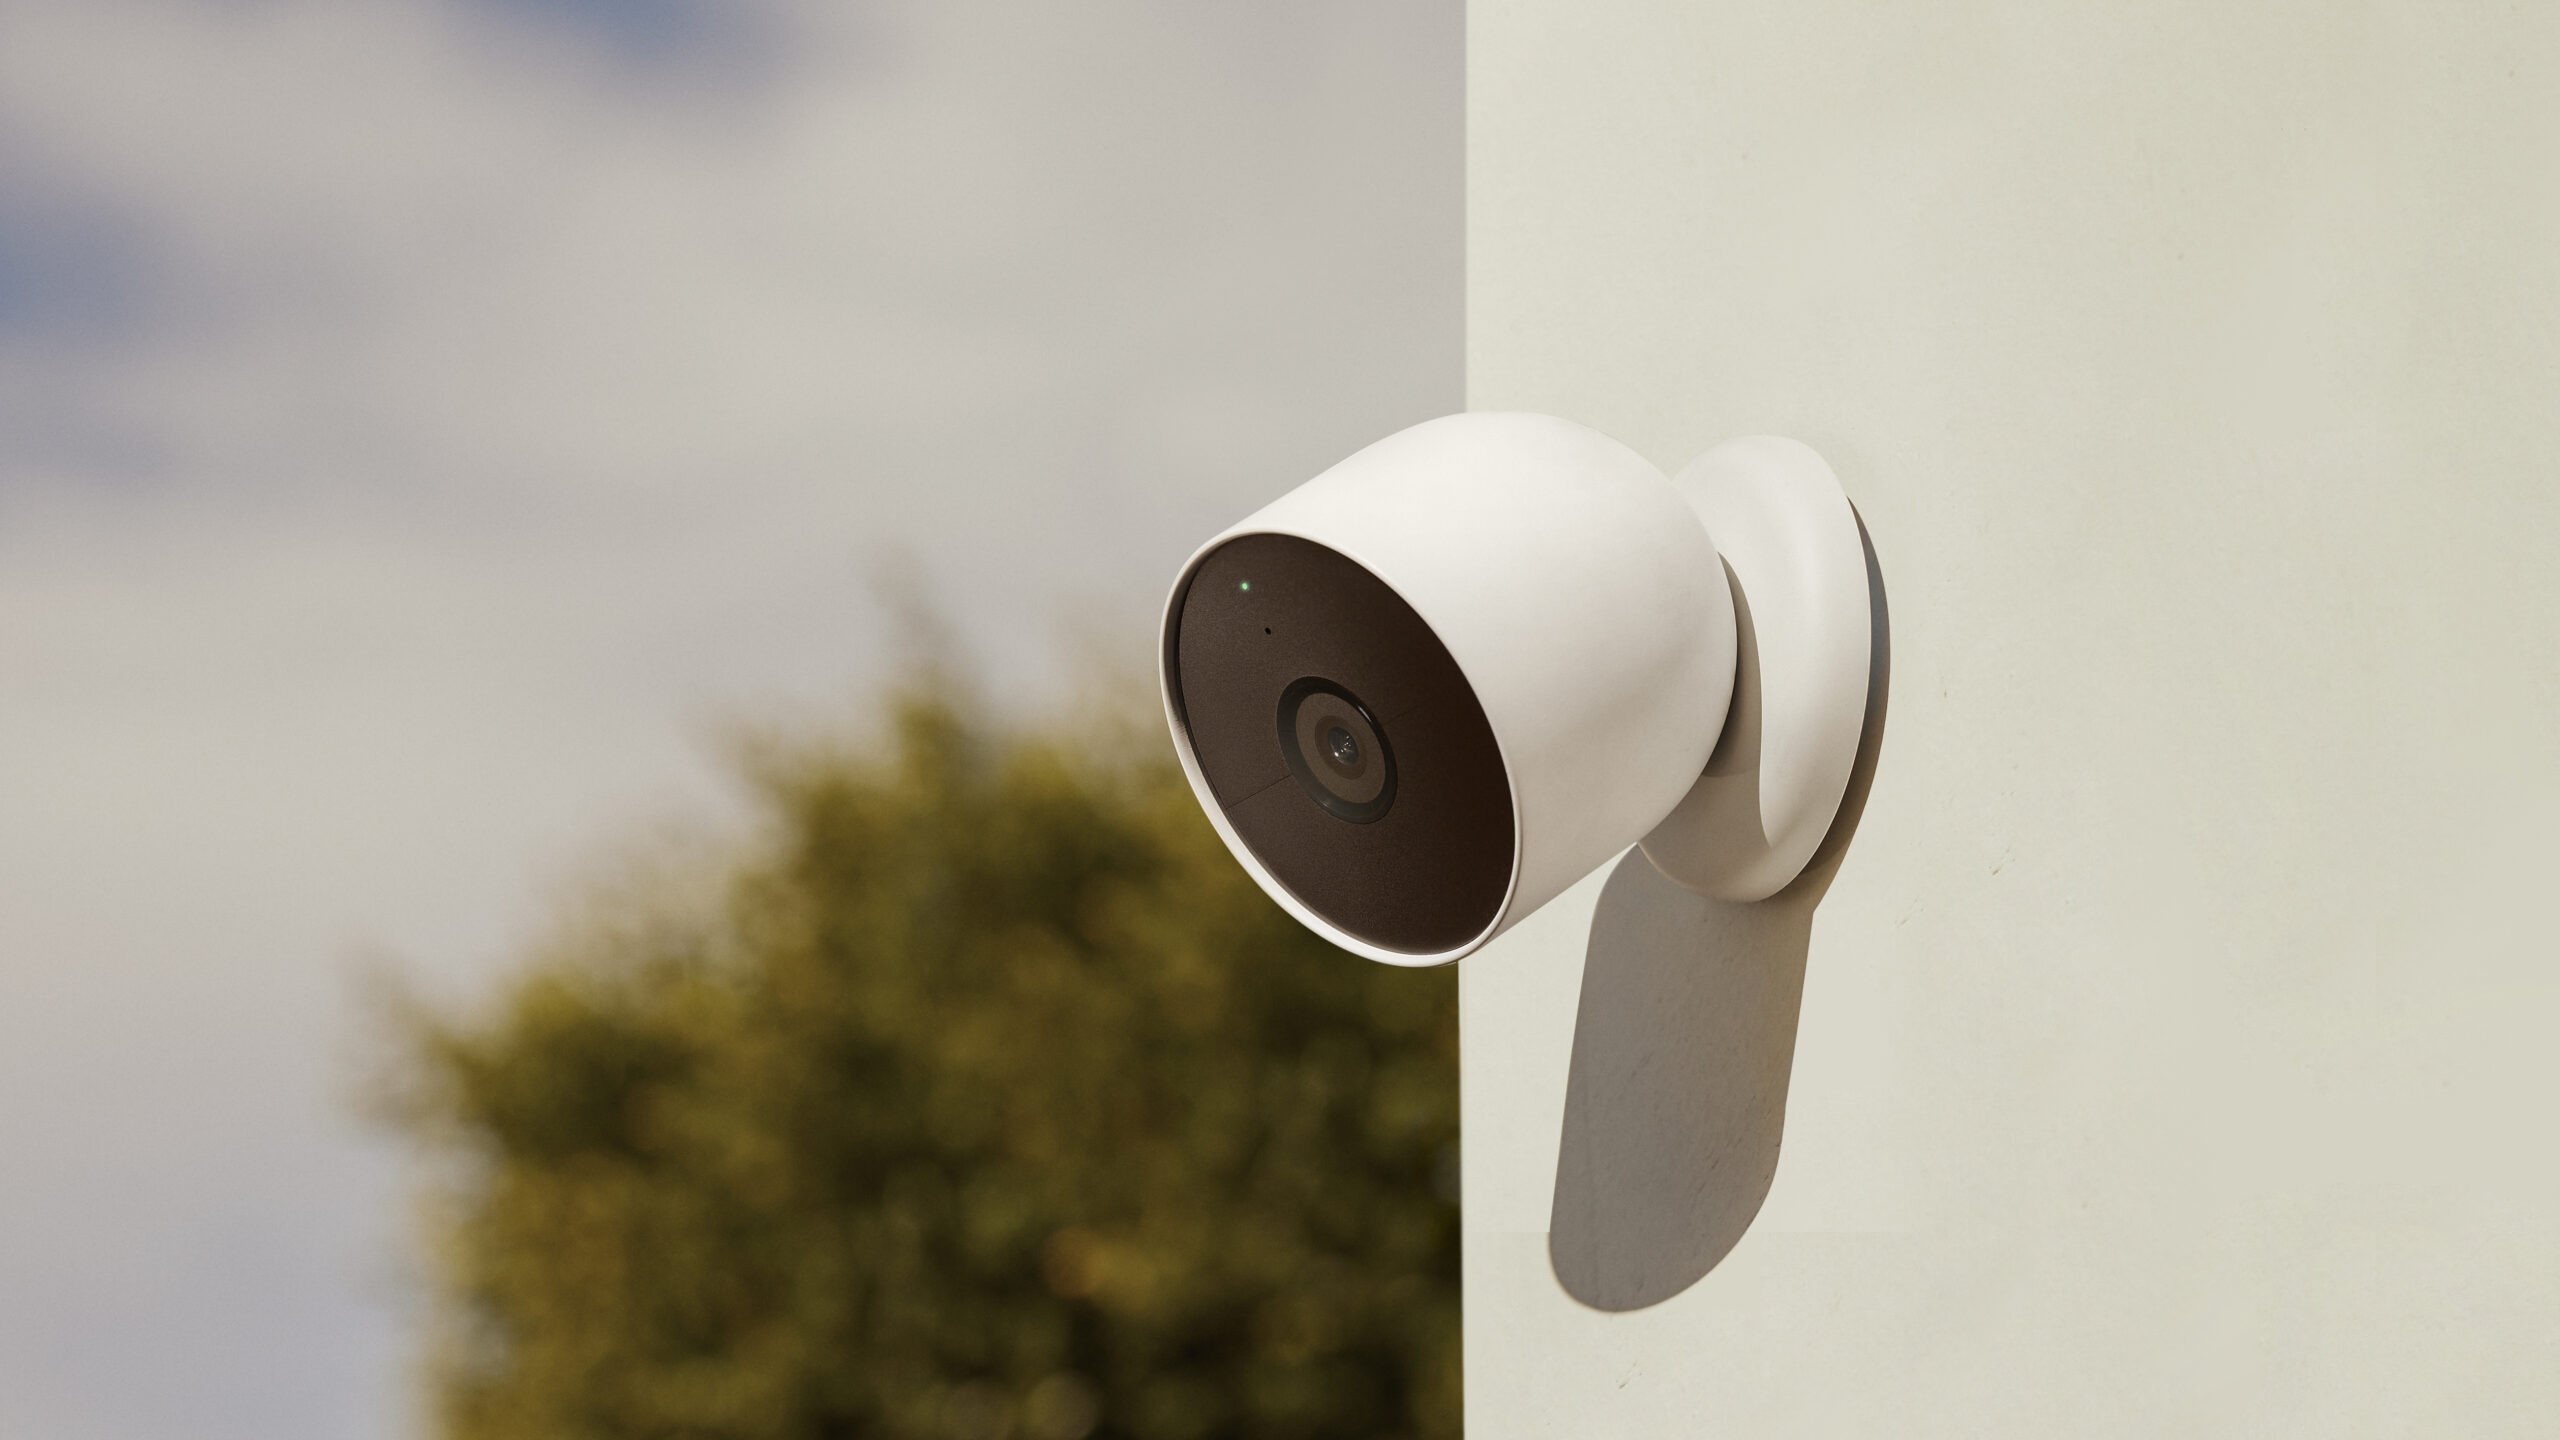
Map your entry points first — front door, side gate, driveway — then decide which spot each camera actually needs to cover. For outdoor placement, mount around 8 to 10 feet up; going higher for a “commanding view” backfires, since a steep downward angle makes faces hard to identify in playback, according to Abode’s 2026 camera placement guide. Angle the lens away from direct sun or a porch light — glare from either can wash out the exact moment you actually wanted captured.
Check Your Wi-Fi Signal Before You Commit
A weak signal, not a bad camera, is the single most common reason a camera freezes, drops offline, or sends alerts minutes late. Before mounting anything permanently, open the camera’s app in the exact spot you’re planning to install it and check the signal-strength reading. Most wire-free cameras — including every pick below — connect over 2.4GHz rather than 5GHz, trading some bandwidth for meaningfully better range through walls. If the router sits on the far side of the house, add a mesh node or Wi-Fi extender near the mounting spot before committing to a permanent position.
Pair the Camera With Its App
Every camera pairs the same basic way: install the manufacturer’s app, create an account, and put the camera into pairing mode — usually a button press or a QR-code scan — while your phone stays on the same Wi-Fi network you tested in Step 2. Ecosystem matters more here than most buyers expect: a camera like the Google Nest Cam (Battery)Google Nest Cam (Battery) lands inside the Google Home app next to a household’s thermostat and lights, while other cameras run their own standalone app with no shared login. Grant notification and background-refresh permissions during setup, not later — alerts silently stop working without them on both iOS and Android.
Set Motion Zones and Notification Sensitivity
Out of the box, most cameras alert on any motion in frame — every passing car, every tree branch in the wind. In the app’s Motion Detection or Alerts settings, draw a zone around just the area you actually want watched, like a walkway rather than the street beyond it; Ring’s own motion zones documentation lists this as the main fix for both missed real events and a flooded notification feed. Start sensitivity lower for a busy street-facing camera and raise it for a quiet side yard, and set scheduled quiet hours if the same alert keeps firing at the same time each day — that’s usually a fixed light or reflection, not a real event.
Decide Between Local Storage and a Cloud Subscription
This is the setup decision that shapes your ongoing cost, not just your first purchase. Cameras with on-device storage — a microSD card slot instead of a cloud-only pipeline — skip the monthly fee entirely once installed. Others hold their best features, like extended clip history or package detection, behind a subscription that only kicks in after a free trial ends. Check which category your camera falls into before you’re several months in and surprised by a bill.
Test Detection and Adjust During the First Week
Don’t walk away after the first successful pairing. Spend the first week actually triggering the camera the way real activity will — walk the driveway, let a car pass, let a delivery arrive — and adjust zones and sensitivity based on what actually shows up in your notifications versus what gets missed. A camera tuned once during setup and never touched again is the most common reason people end up either ignoring their alerts or missing a real event.
The Right Gear Makes It Easier
Some cameras make each of the steps above simpler right out of the box.
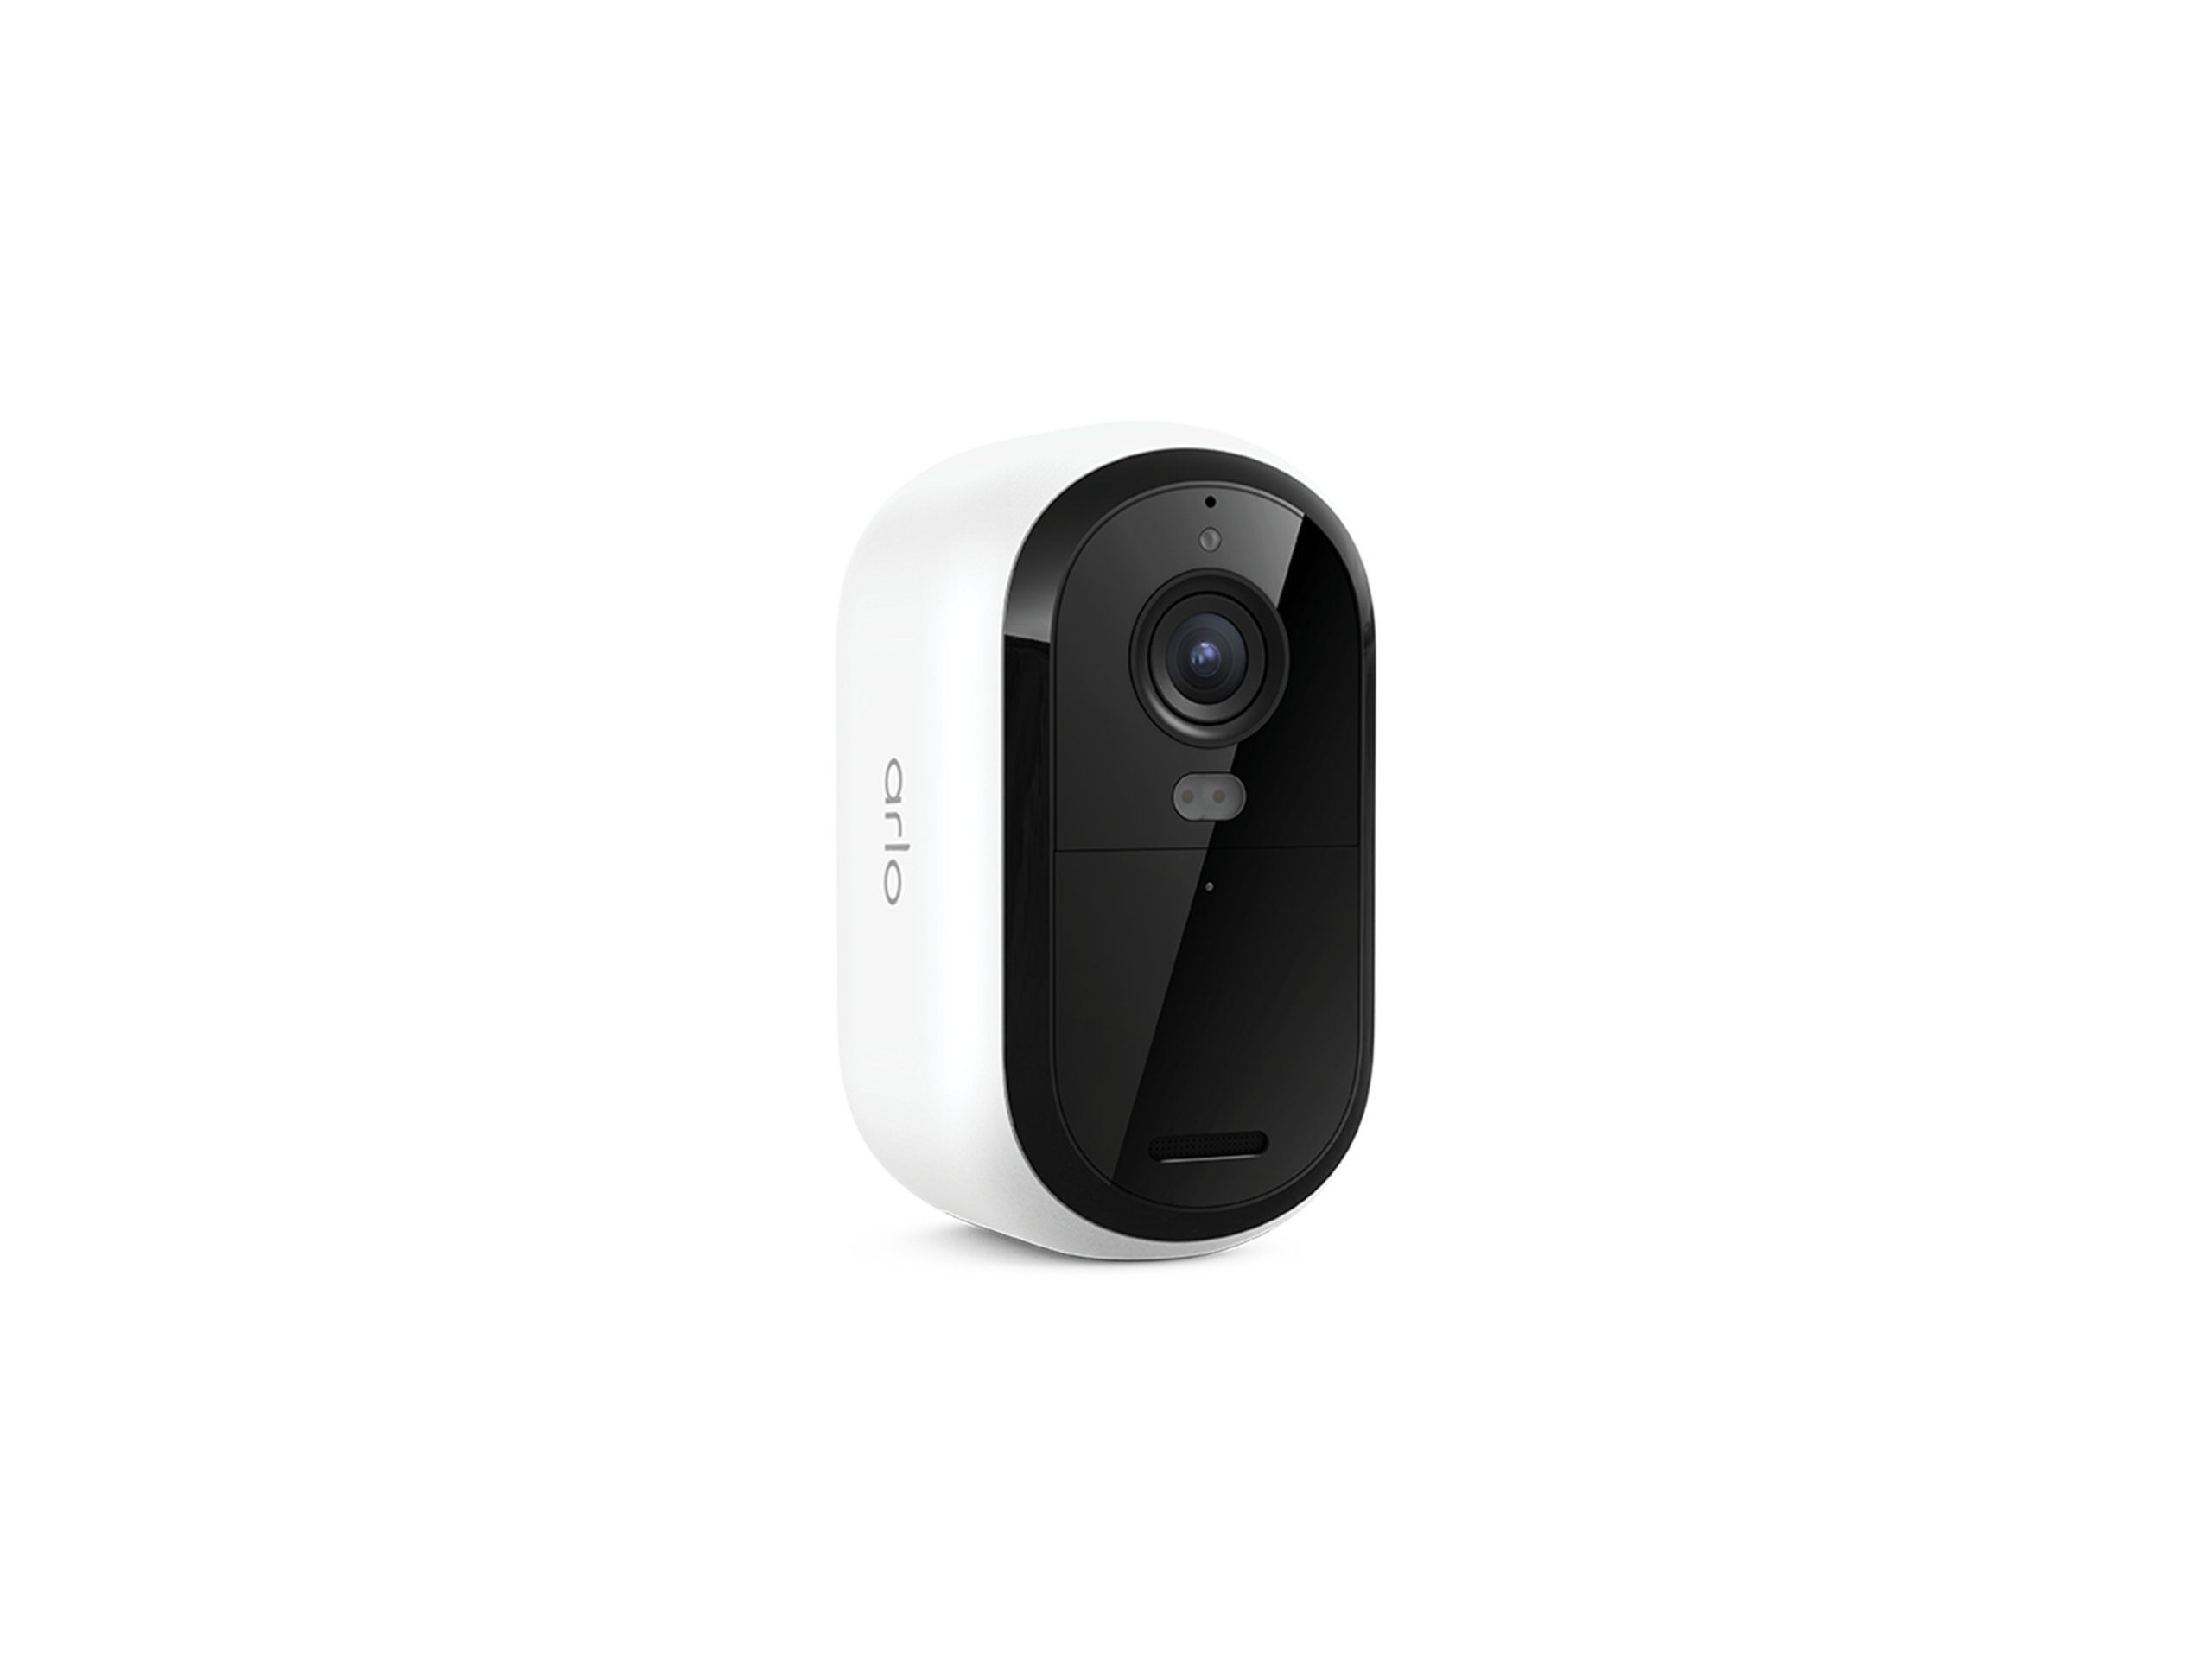
Arlo Essential Security CameraArlo Essential Security Camera — connects straight to Wi-Fi with no separate hub, cutting a whole step out of pairing.
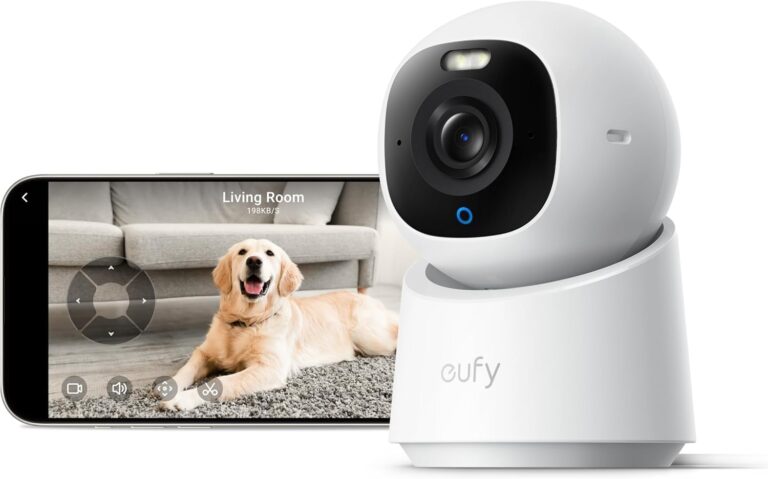
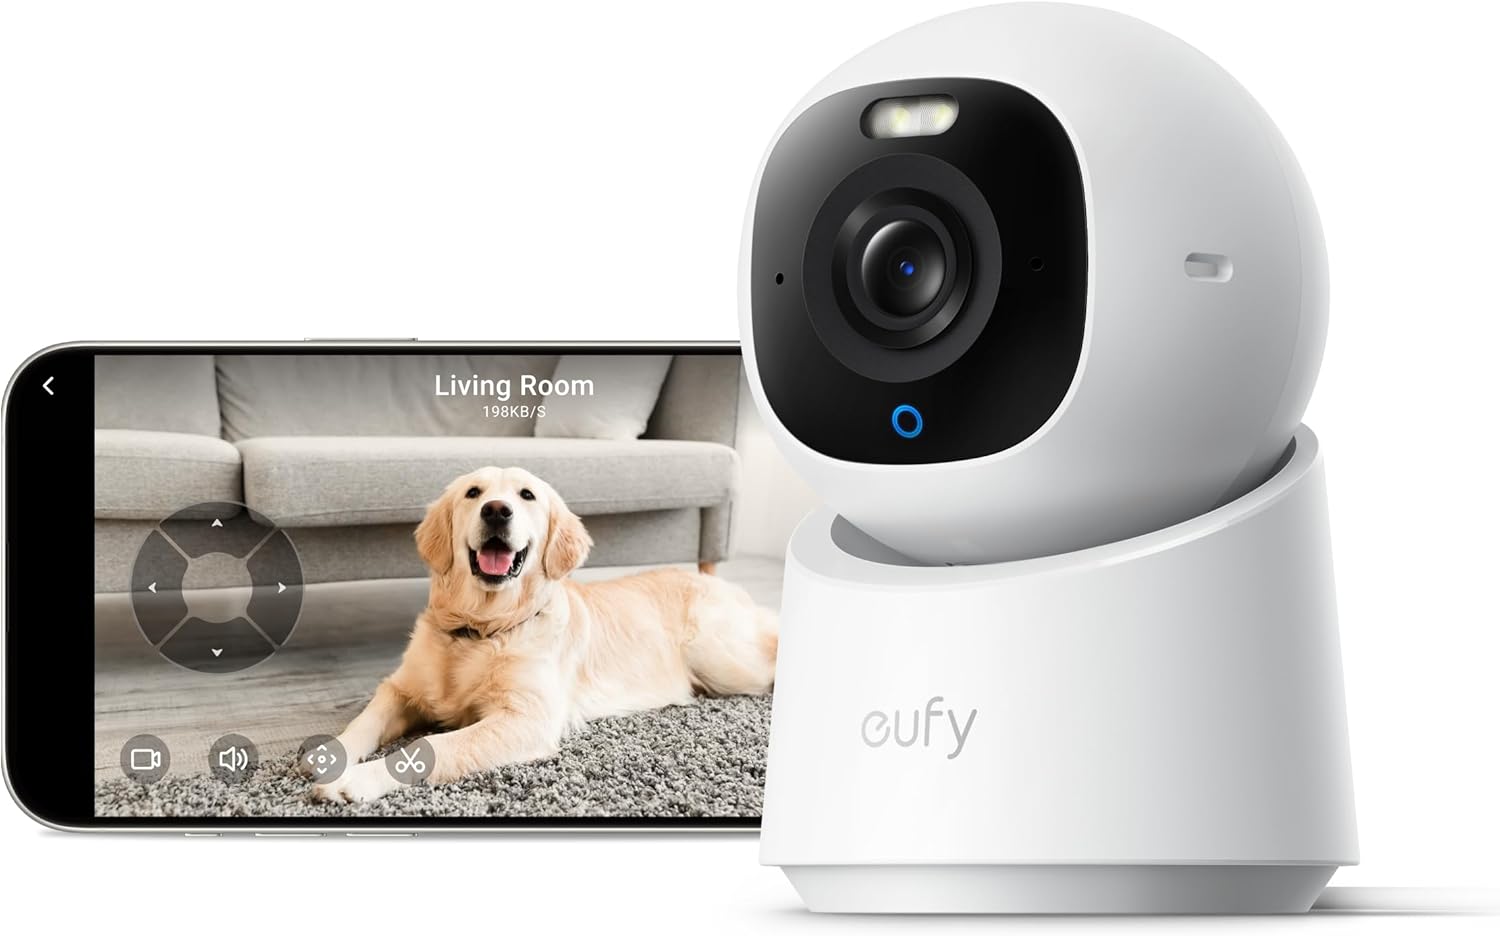
eufy Indoor Cam E30eufy Indoor Cam E30 — records locally to a microSD card with no subscription required, the simplest answer to the storage question above.
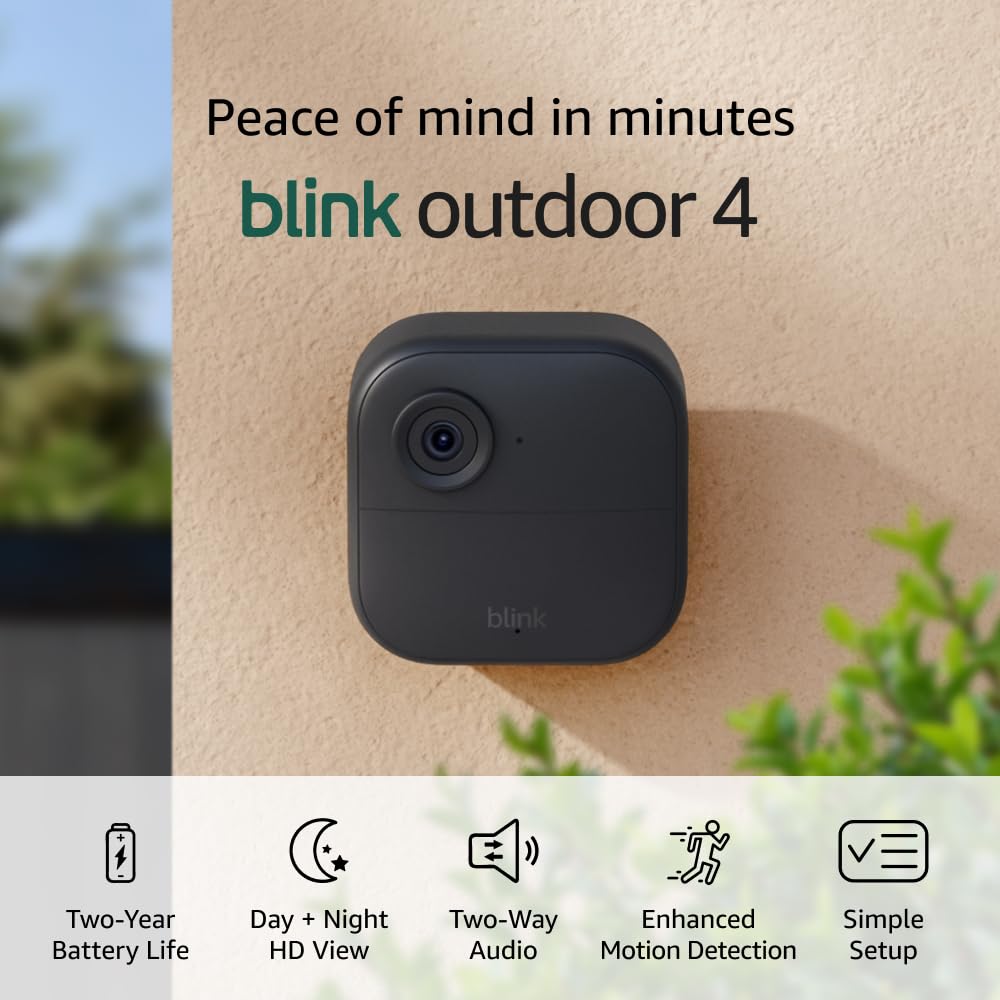
Blink Outdoor 4Blink Outdoor 4 — ships with its Sync Module Core included and runs up to two years on two AA batteries, useful for a mounting spot you’d rather not revisit often.
Comparing cameras before you commit? See our Best Smart Home Cameras 2026: 3 Top Picks Compared →See our Best Smart Home Cameras 2026: 3 Top Picks Compared →