How to Meal Prep with an Instant Pot: 6-Step System (2026)
One pot, one afternoon, a week of dinners already portioned. Here’s a repeatable system for batch-cooking protein and grains together without babysitting the stove.

How We Researched
Cooking times and technique drawn from Wholesome Yum and Piping Pot Curry, cross-checked against USDA Food Safety and Inspection Service guidance on cooling and reheating. No manufacturer paid for placement.
What You’ll Learn
- Batch-cooking a full week of protein in one cycle
- Cooking grains and starches while the protein rests
- Using the pot-in-pot method to run two dishes at once
- Cooling meals safely without inviting bacteria growth
- Storing and labeling containers for the fridge and freezer
- Reheating leftovers to a safe temperature, not just a warm one
3 kitchen tools referenced in this guide
How do you meal prep with an Instant Pot without turning your Sunday into a full cooking shift? The short answer: batch one protein, one grain, and let the pot handle both back to back while you portion and clean up. Here’s the 6-step system, plus the food-safety details that keep a week of pre-cooked meals actually safe to eat.
Choose One Protein and Batch-Cook It First
Pick a single protein for the week — boneless chicken breasts, chicken thighs, or ground turkey all pressure-cook predictably in a multi-cooker. Wholesome Yum’s testing found boneless chicken breasts cook in about 8–10 minutes on high pressure (adjust up slightly for frozen), followed by a quick release. Add a cup of broth or water to the pot before adding the meat — the Instant Pot needs enough liquid to reach pressure, and a plain multi-cooker like the Duo Plus won’t build steam on a dry pot.
Cook Grains While the Protein Rests
Once the protein comes out to rest and shred or slice, run a second quick cycle for rice or quinoa in the same pot — white rice pressure-cooks in roughly 3–4 minutes, quinoa in about 1 minute, both followed by a natural release of 10 minutes. Rinsing rice first cuts down on the starchy foam that can trigger the pot’s overflow protection. This two-cycle approach (protein, then grain) keeps things simple if you’re new to batch cooking; the pot-in-pot method below combines them into a single cycle once you’re comfortable with timing.
Use the Pot-in-Pot Method to Run Two Dishes at Once
Pot-in-pot (PIP) cooking means placing a second, oven-safe bowl on a trivet above the main ingredients, so two dishes cook in the same pressure cycle. Piping Pot Curry’s guide lays out the basic setup: add a cup of water to the inner pot, set a tall trivet or steam rack inside, then place a heat-safe bowl of rice or vegetables on top while the main dish cooks below. This is the technique that turns a Sunday prep session into one cycle instead of three, and it keeps the main pot far cleaner since it’s holding water rather than sauce.
Cool Meals Within Two Hours, in Shallow Containers
This is the step most home cooks skip, and it’s the one that actually matters for food safety. USDA’s Food Safety and Inspection Service recommends refrigerating cooked food within two hours, split into portions no more than 3 inches deep so it cools through quickly rather than sitting warm in the fridge’s “danger zone” (40°F–140°F). For soups or sauces, an ice bath before portioning speeds this up further. Don’t leave a full Instant Pot insert of hot rice or chicken to cool on the counter for an hour before dealing with it — portion it into shallow containers right away instead.
Portion, Label, and Store by the Calendar
Divide the cooked protein and grain into individual containers sized for one meal, then label each with the contents and date. Per USDA guidance, cooked leftovers are good in the refrigerator for 3–4 days and in the freezer for 2–6 months — plan the week’s fridge portions first and freeze anything beyond day four immediately rather than letting it sit and expire unused. A permanent marker and a strip of tape solves more meal-prep failures than any container system does.
Reheat to 165°F, Not Just Until It Looks Hot
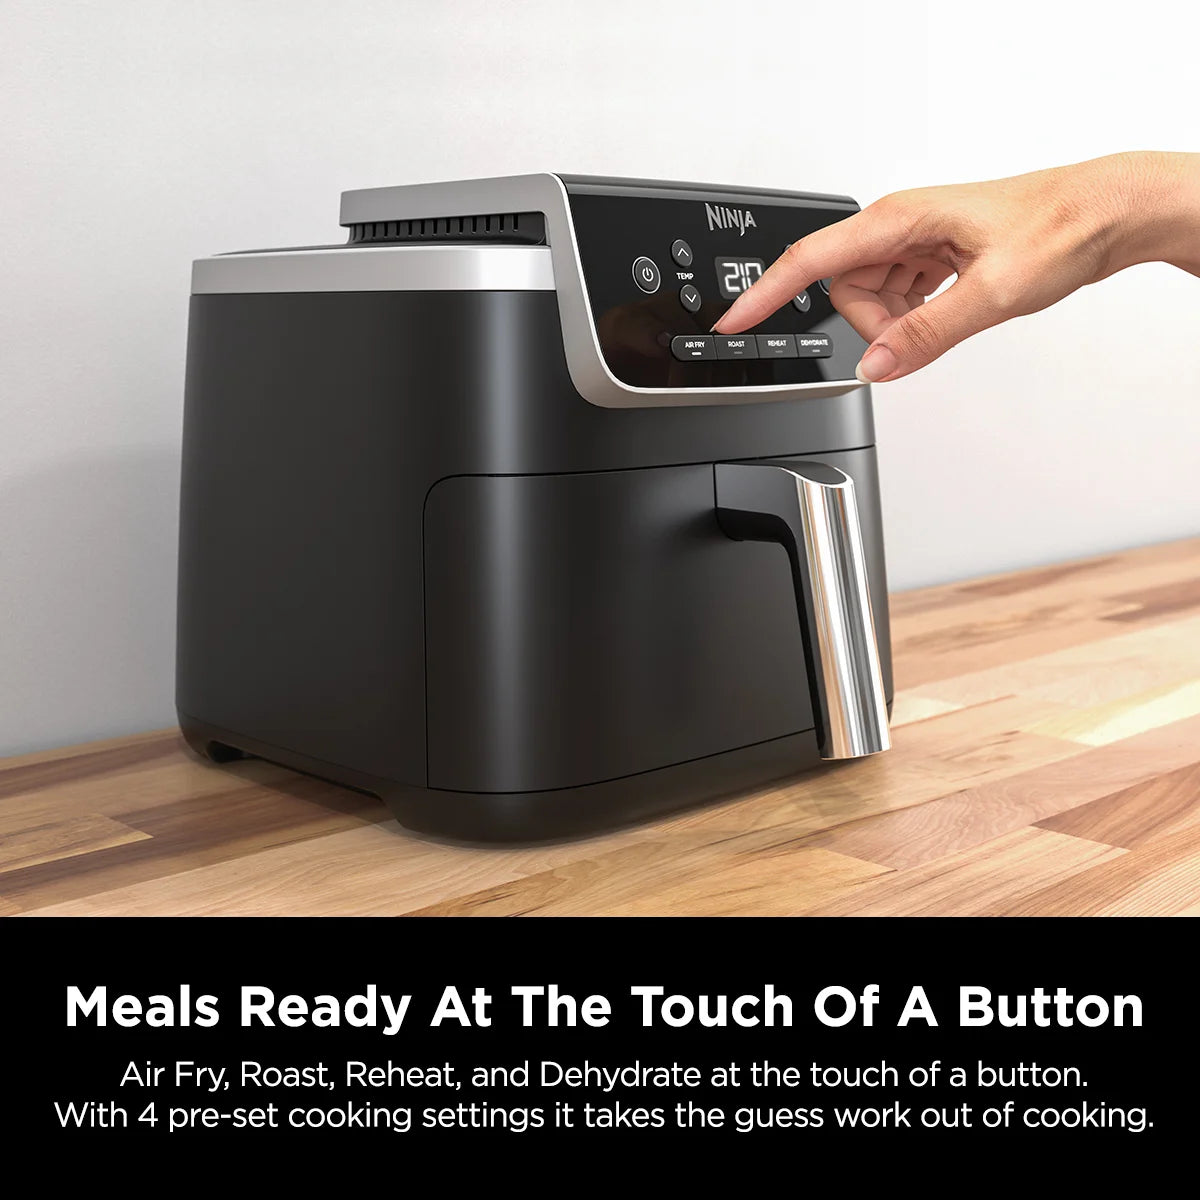
Reheat portions to an internal temperature of 165°F — USDA specifically advises against reheating in a slow cooker, since food can spend too long passing back through the danger zone before it gets hot enough. A microwave, stovetop, or an air fryer set to reheat all get food through that range fast enough to be safe. Air fryers have the added benefit of re-crisping anything that was originally fried or roasted, which a microwave can’t do.
The Right Gear Makes It Easier
None of this requires specialty equipment, but a few tools make the weekly cycle noticeably smoother.
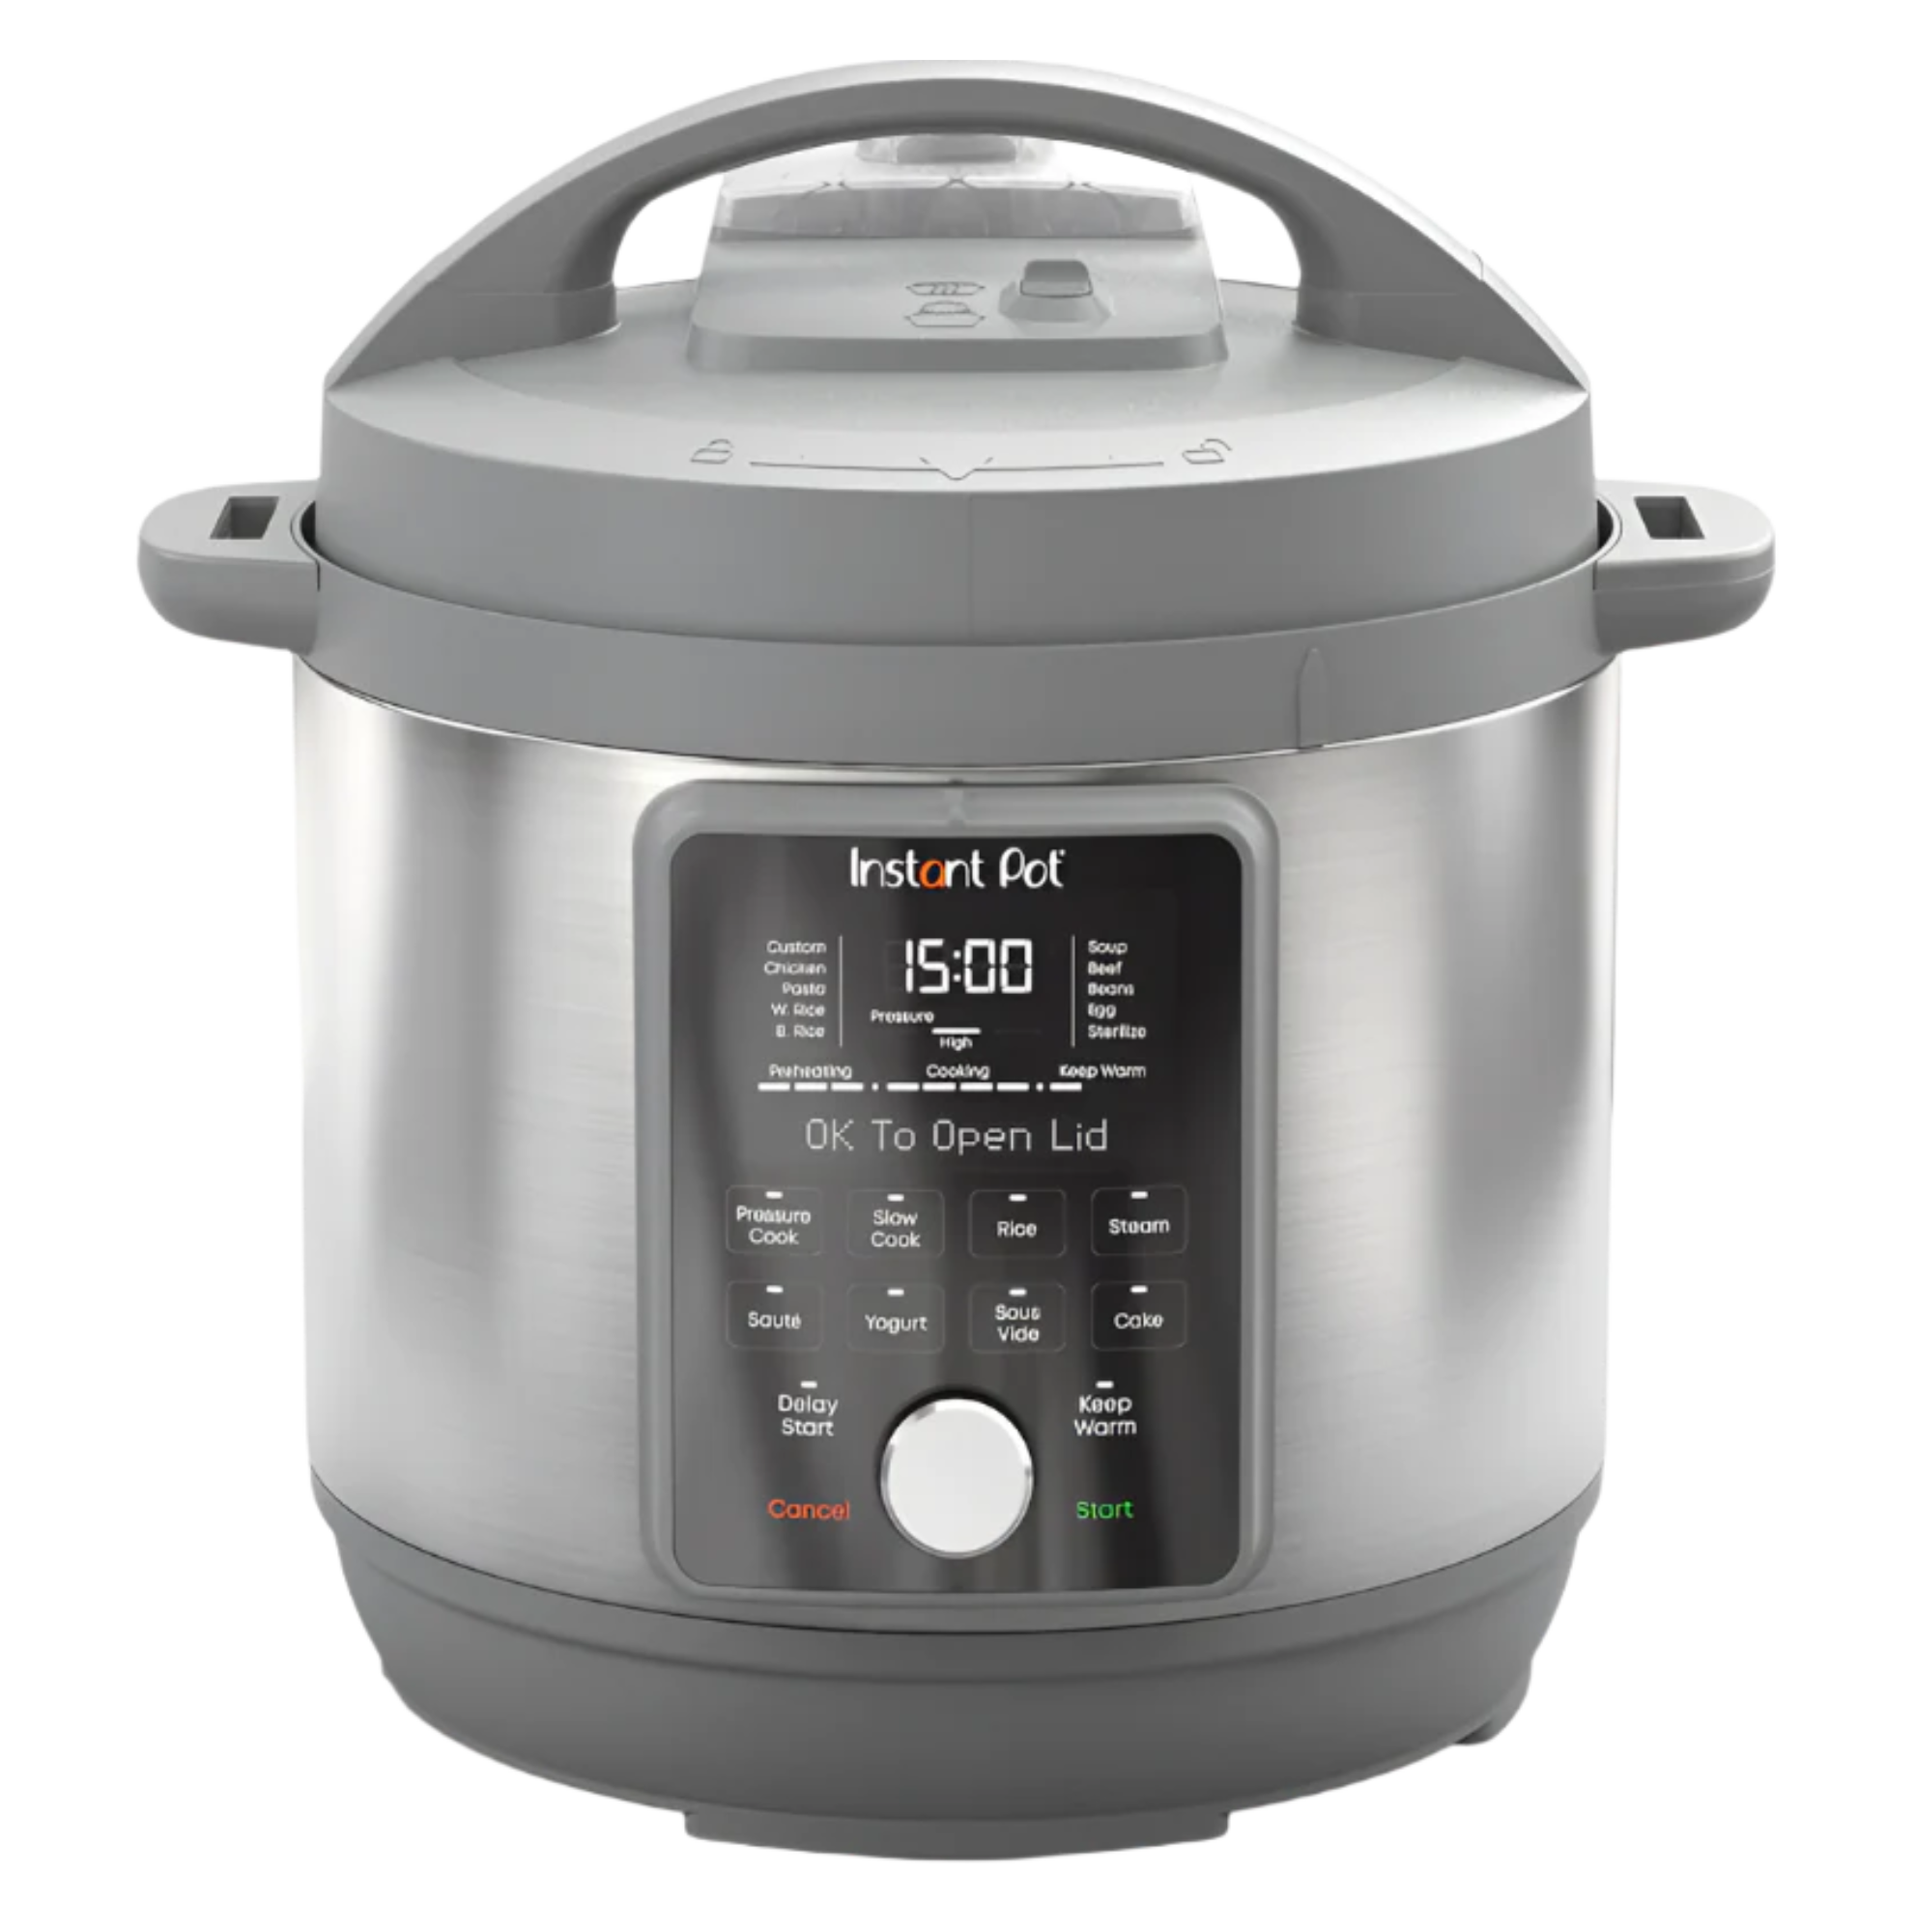
Instant Pot Duo PlusInstant Pot Duo Plus — the 6-quart capacity and 9-in-1 function set (including a dedicated Rice preset) is exactly what the batch-cook and pot-in-pot steps above are built around.
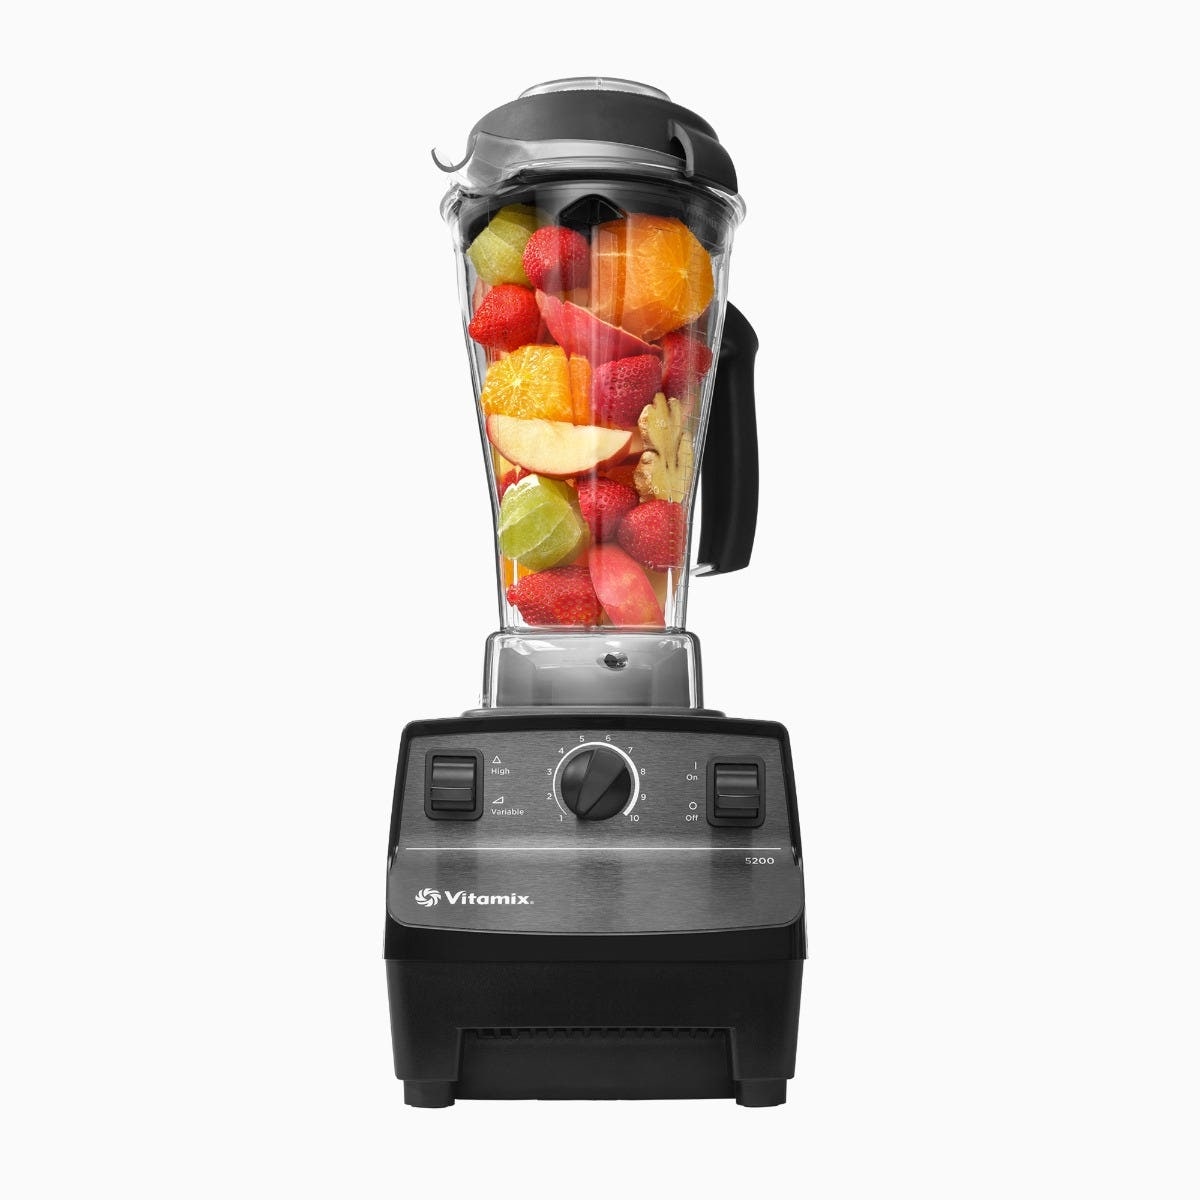
Vitamix 5200Vitamix 5200 — useful for turning a batch of roasted or pressure-cooked vegetables into a soup or sauce base you can freeze in flat bags for later in the week.
Ninja Air Fryer Pro 4-in-1Ninja Air Fryer Pro 4-in-1 — its dedicated Reheat setting brings refrigerated or frozen portions back to temperature while re-crisping anything that started out fried, roasted, or breaded.
Want to round out the rest of your kitchen lineup? See our Best Small Kitchen Appliances of 2026 →See our Best Small Kitchen Appliances of 2026 →