How to Set Up NordVPN on All Your Devices (2026)
How to Set Up NordVPN on All Your Devices (2026)
A plain-English walkthrough that takes about five minutes per device — from creating your account to switching on the kill switch and Threat Protection, with the install steps that differ on Windows, mobile and TV spelled out.
Before You Start
Learning how to set up NordVPN is the easy part — it takes about five minutes per device. The reason to bother is what happens the moment you skip it. On public or shared Wi-Fi, the network operator and anyone snooping on it can see the sites you reach; at home, your internet provider can log and monetise your browsing history. A VPN wraps that traffic in encryption so the network only sees an unreadable tunnel, and replaces your real IP address with one from a NordVPN server. The walkthrough below covers creating an account, installing the app on every major platform, connecting for the first time, and switching on the protections that actually matter.
Step 1: Choose a Plan and Create Your Account
Start on the NordVPN website rather than the app store, because signing up through the web gives you the full choice of plans and the current promotional pricing. Pick a subscription term — longer terms carry the steepest discount — then create your account with an email address and password. Tip: NordVPN’s longer plans bundle extras such as the NordPass password manager and NordLocker encrypted storage on the higher tiers, so check what each tier includes before you decide. The live box below shows the current NordVPN offer; promotions change often, so confirm the price on the checkout page before subscribing.
Save on 2-year plans + extra months free
Get Deal →Affiliate partner · we may earn a commission at no extra cost to you. DisclosureStep 2: Download and Install the NordVPN App
NordVPN has a native app for every major platform, and one account covers up to 10 devices at the same time. Install it wherever you need protection:
- Windows & macOS: download the installer from nordvpn.com/download (or the Microsoft Store / Mac App Store) and run it like any other program.
- Android & iOS: search “NordVPN” in the Google Play Store or Apple App Store and tap install. Confirm the developer is “Nord Security” to avoid copycats.
- Linux: install the official command-line app from NordVPN’s repository following the distribution instructions on their download page.
- Browser: add the NordVPN extension for Chrome, Edge or Firefox for a lightweight proxy in the browser only.
- Router, Android TV & Apple TV: install from the TV app store, or set NordVPN up at the router level to cover devices that can’t run the app themselves.
Note: the browser extension only protects browser traffic, while the desktop and mobile apps protect everything on the device. For full coverage, install the app rather than relying on the extension alone.
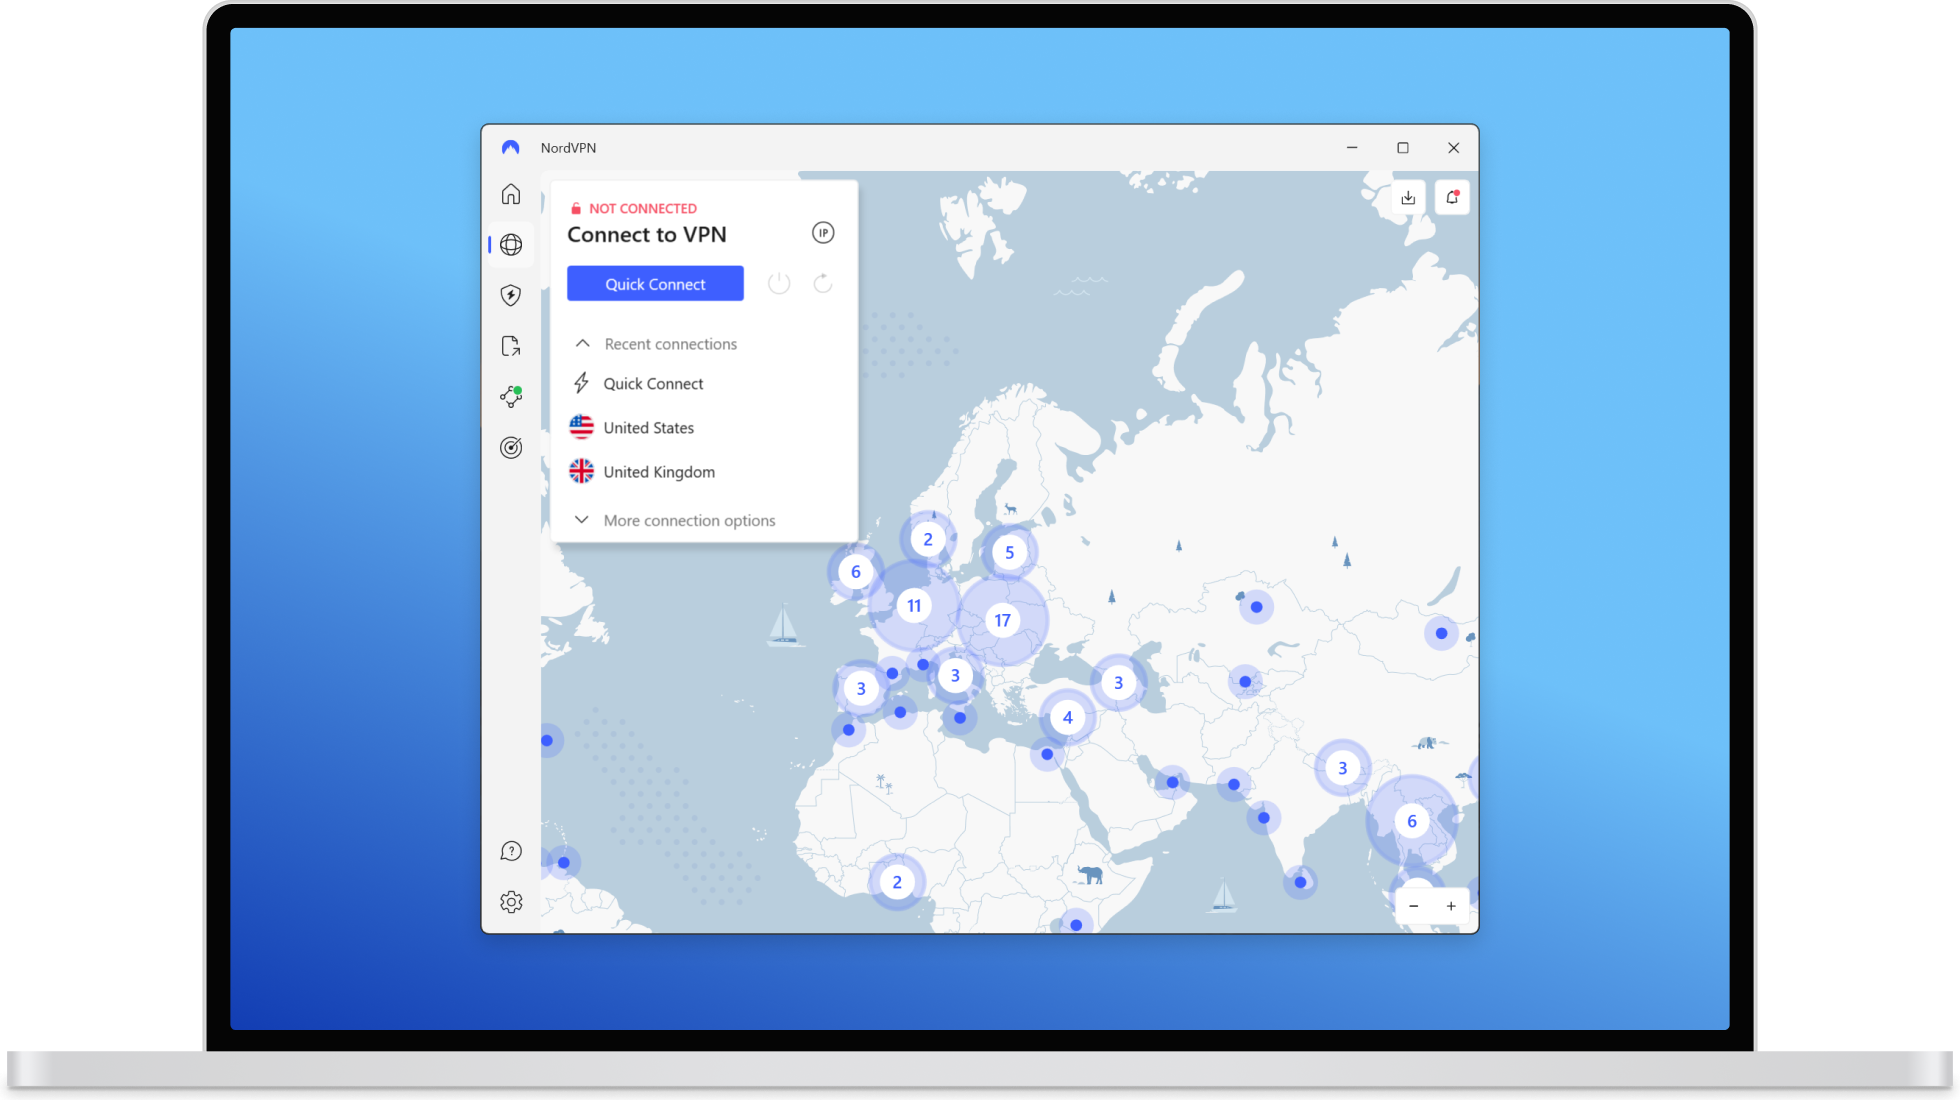
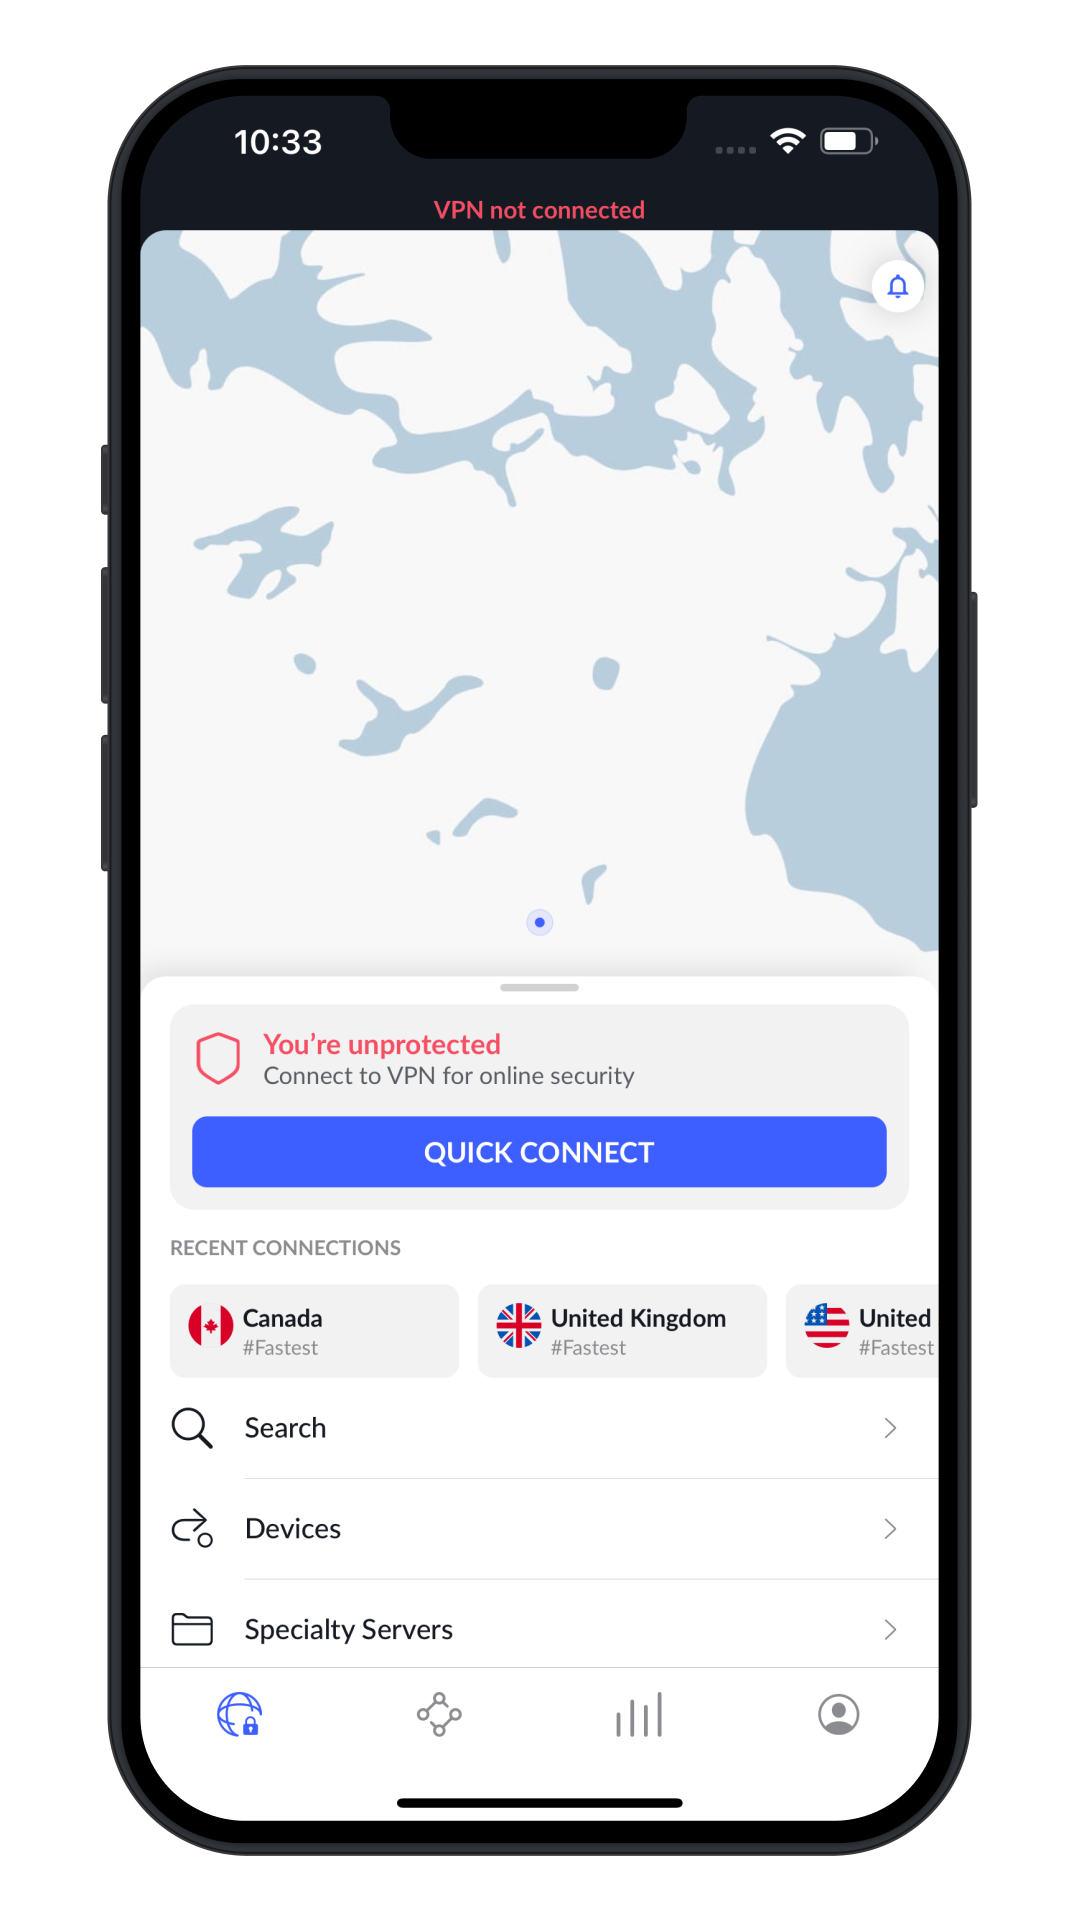
Step 3: Log In and Tap Quick Connect
Open the app, sign in with the account you created in Step 1, and you’ll land on the main screen. The fastest way to get protected is the large Quick Connect button, which picks the best and fastest server for your location automatically. Within a second or two the status changes to “Protected” and your traffic is encrypted.
Step 4: Pick the Right Server for the Job
Quick Connect is enough for everyday privacy, but you can also choose a server deliberately. Select a specific country from the list or the interactive map when you want an IP address in that region, and use the search box to jump straight to a city. For special needs, open Specialty Servers: P2P servers are tuned for file sharing, Double VPN routes you through two servers for an extra layer, Onion Over VPN sends traffic into the Tor network, and obfuscated servers help on restrictive networks that try to block VPNs. Note: the closer the server is to you, the faster it will generally feel, so pick a nearby country unless you specifically need another location.
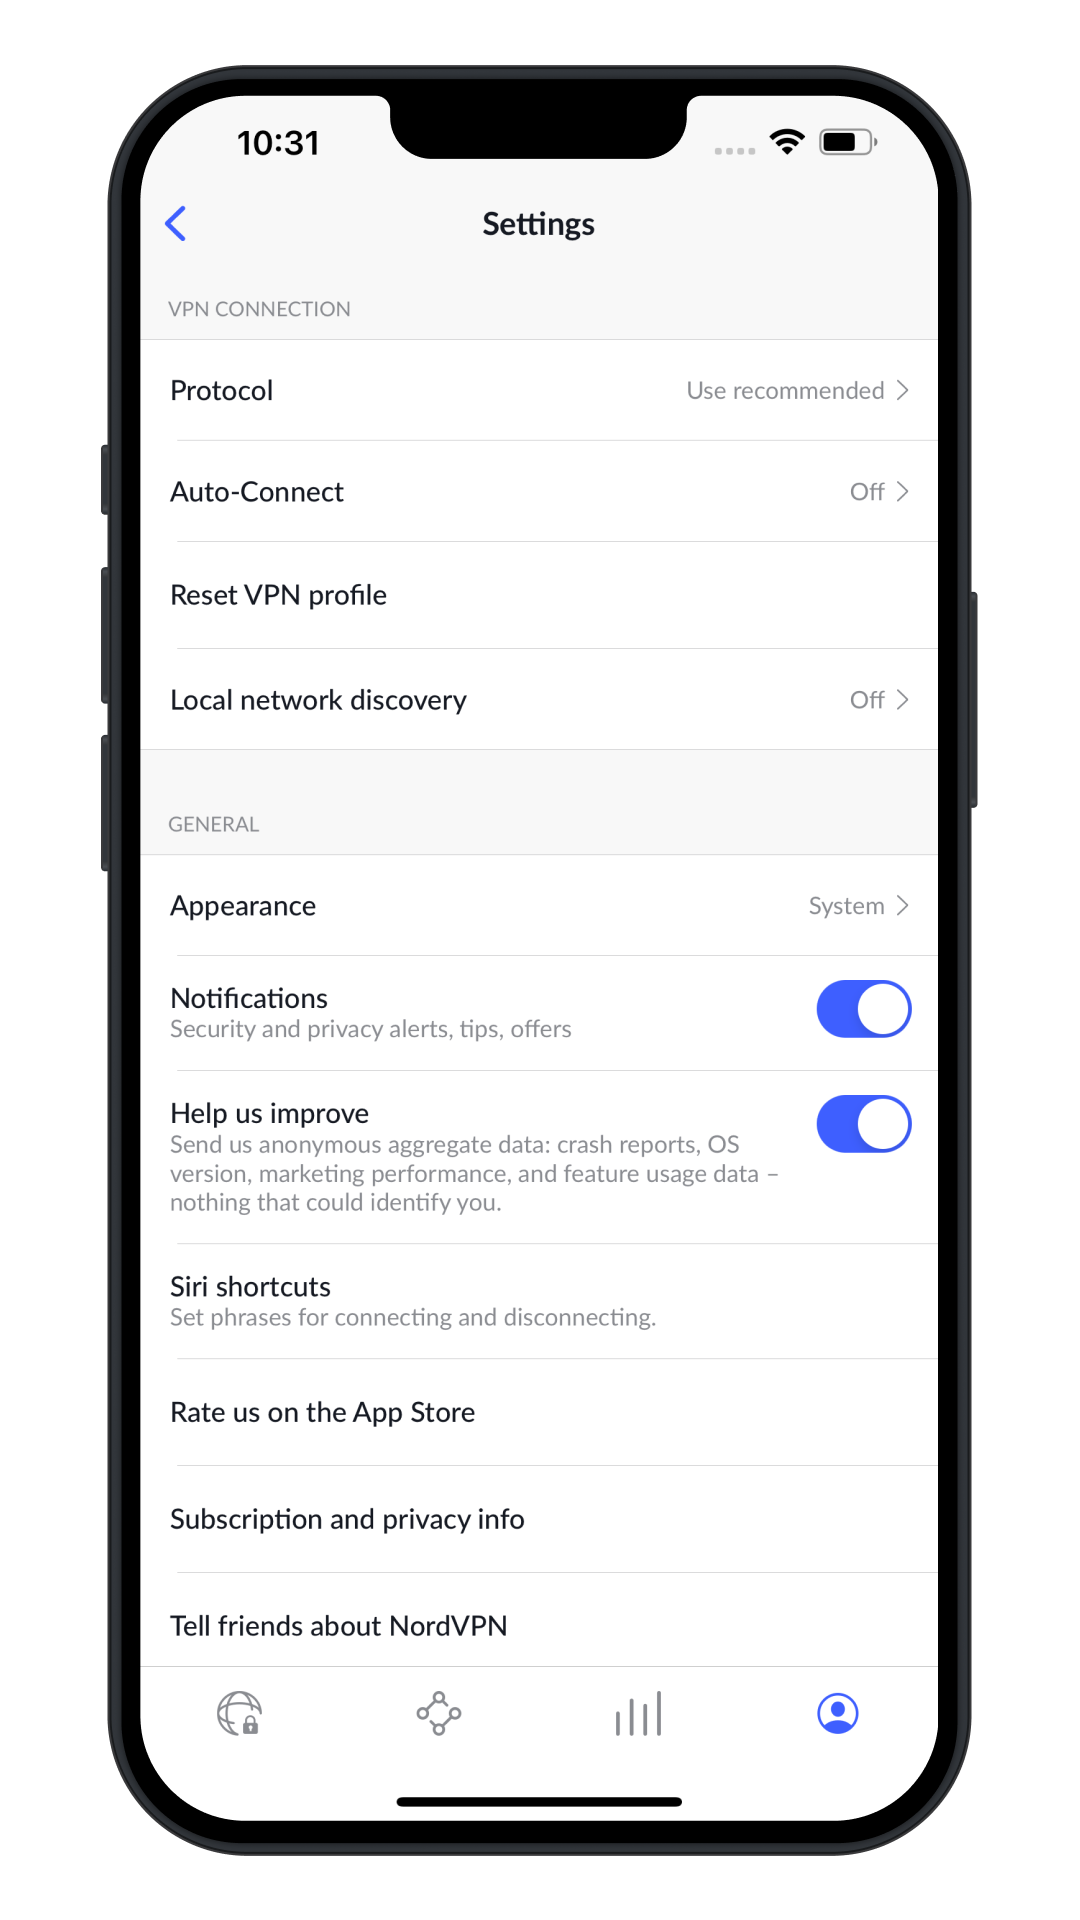
Step 5: Turn On the Kill Switch and Auto-Connect
Two settings turn NordVPN from “on when I remember” into reliable, always-on protection. Open Settings and enable the Kill Switch, which instantly cuts your internet if the VPN tunnel ever drops so nothing leaks unprotected. Then turn on Auto-Connect, so the app connects on its own — you can set it to fire on any network or only on untrusted Wi-Fi. While you’re here, the Protocol setting is best left on “Use recommended” (NordLynx), which is NordVPN’s fastest option for most people.
Step 6: Switch On Threat Protection
Threat Protection is NordVPN’s security layer that works beyond the basic tunnel. Enable it from the shield or Threat Protection menu and it will block known malicious and phishing sites, strip trackers and intrusive ads, and — on the Pro tier — scan files you download for malware. According to NordVPN, Threat Protection Pro earned an Anti-Phishing certification from AV-Comparatives in testing conducted in 2026. Turning it on once means it runs quietly in the background from then on.
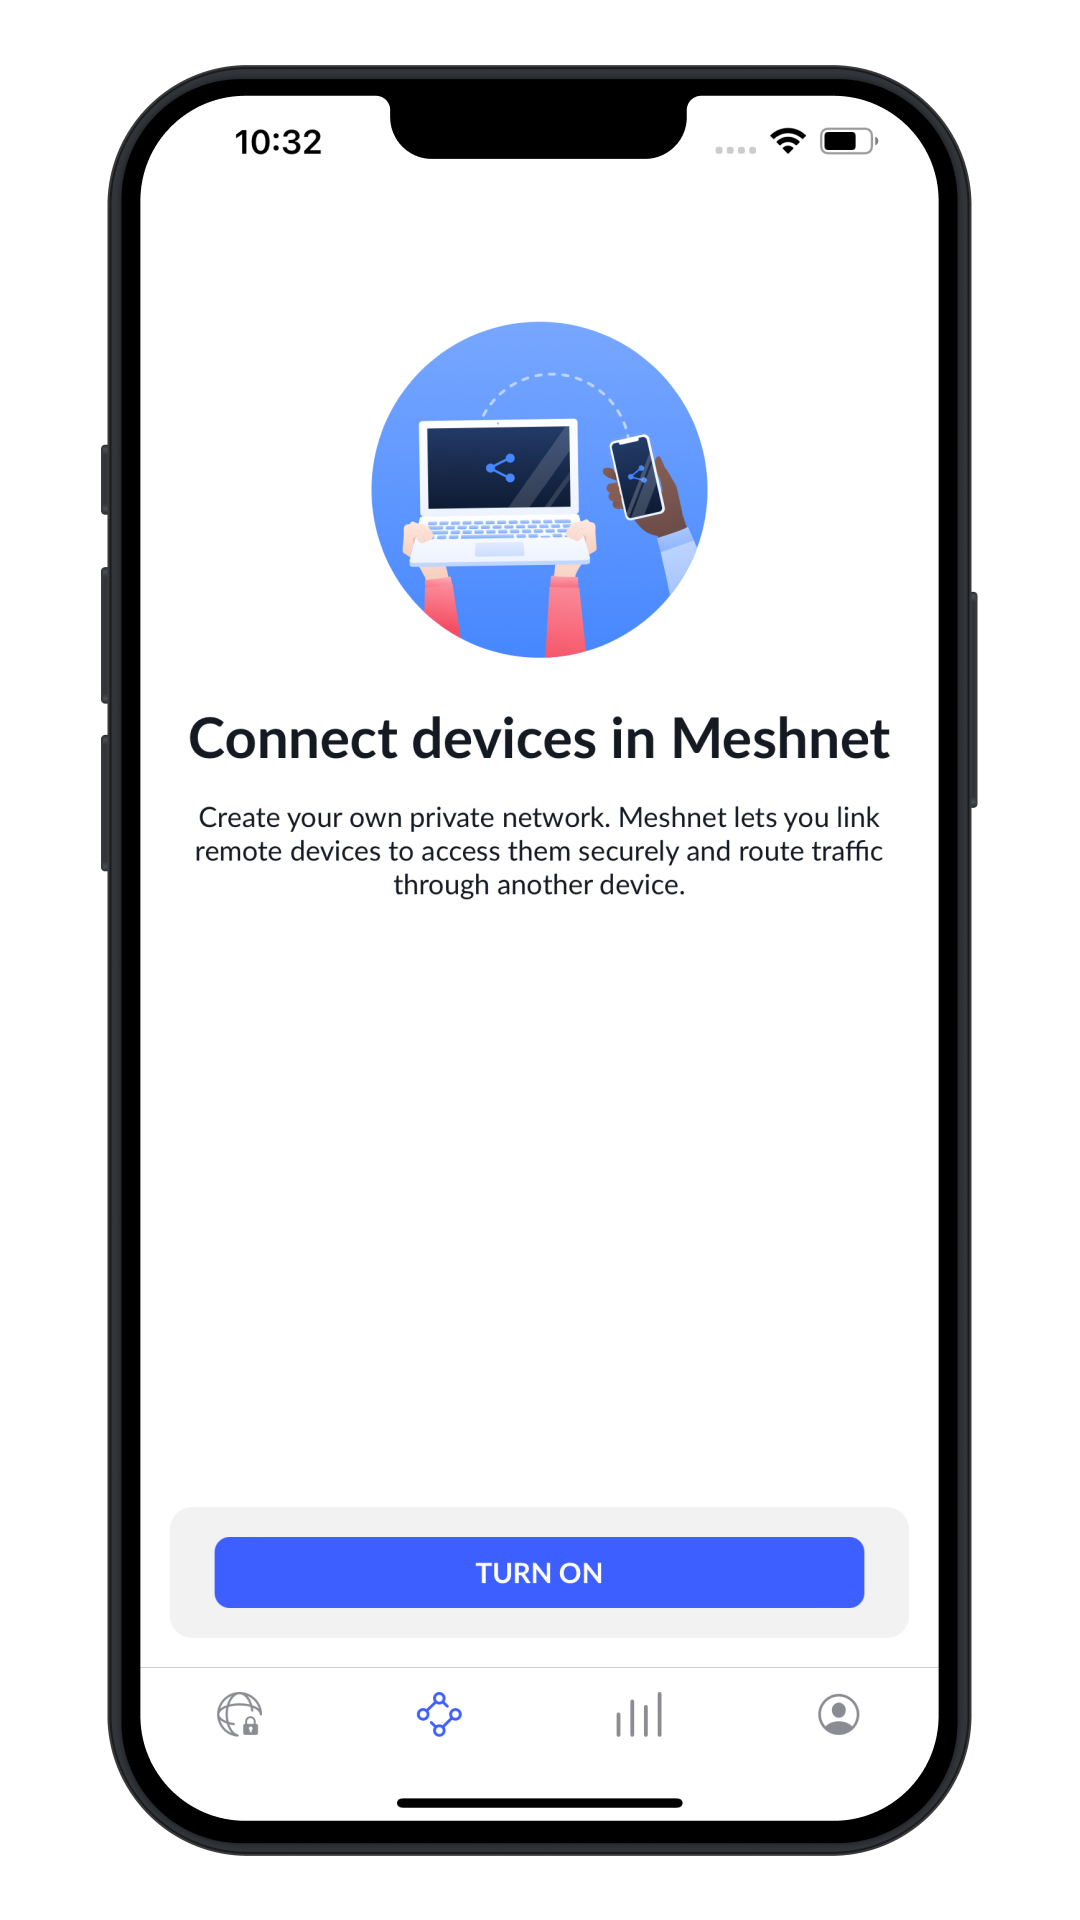
Step 7: Link Your Devices with Meshnet (Optional)
Meshnet is a free NordVPN feature that creates an encrypted direct link between your own devices. Open the Meshnet tab and tap Turn On to build a private network you can use to access a home computer while travelling, share files of any size, or route your traffic through a device in another location — all without going through a public Nord server. It’s optional, but genuinely useful if you own more than one device.
Platform-by-Platform: How Setup Differs
The seven steps above work the same on every device once the app is open — the only real differences are in how you install the app and, on a TV, how you sign in. Here is what changes by platform.
- Windows & macOS (desktop): download the installer straight from nordvpn.com/download rather than an app store, run the .exe or .dmg, then sign in with your email and password. The desktop app exposes the fullest settings menu — split tunneling and the detailed Kill Switch options live here.
- iPhone, iPad & Android (mobile): install from the Apple App Store or Google Play Store, sign in, and tap Quick Connect. The mobile apps add per-network Auto-Connect, so the VPN can fire automatically on untrusted Wi-Fi while staying off on your home network.
- Apple TV & Android TV: install from the TV’s app store, but instead of typing your password with the remote you sign in by scanning a QR code. The TV shows a QR code on screen; you open the camera (or the NordVPN app) on your phone, scan it, and approve the sign-in — the TV then logs itself in. From there it’s the same Quick Connect screen as every other device.
Add the Rest of Your Household
Because one subscription covers 10 devices simultaneously, repeat Steps 2 and 3 on every phone, laptop and tablet in the house — just sign in with the same account on each. If you run out of device slots, setting NordVPN up on your router protects every device behind it while only counting as one.
Get NordVPN
That’s everything you need for full coverage. If you haven’t subscribed yet, the current deal and pricing are shown live below — pricing differs by region, so the box reflects the offer available where you are.
Save on 2-year plans + extra months free
Your reader price: from $3.49/mo Get Deal →Affiliate partner · we may earn a commission at no extra cost to you. Disclosure
Want the full breakdown of speeds, the audited no-logs policy and how it compares with ExpressVPN, Surfshark and Proton VPN before you commit? Read our full NordVPN reviewour full NordVPN review.