How to Apply Face Serum Correctly: Right Order (2026)
Getting the order and amount right is what actually determines whether a serum works — here’s the routine the American Academy of Dermatology and a dermatologist’s guide recommend.

How We Researched
Routine order drawn from the American Academy of Dermatology’s product-order guidance and Skin Type Solutions’ dermatologist-reviewed application guide, cross-checked against the formulas in our own serum reviews. No manufacturer paid for placement.
* As an Amazon Associate I earn from qualifying purchases. Disclosure
What You’ll Learn
- Where serum goes in a cleanse-treat-moisturize routine
- How much serum to actually use
- The right technique for pressing it in
- Whether to wait before your next product
- Why SPF has to follow serum every morning
3 serums referenced in this guide
Wondering how to apply face serum correctly? Most of the value in a serum comes down to two things people skip: applying it at the right point in your routine, and using enough of it. Get either one wrong and even a well-formulated serum won’t do much.
Step 1: Cleanse First, Then Pat Skin Slightly Damp
Start every routine with a gentle cleanser and pat your face dry rather than rubbing it. The American Academy of Dermatology lists cleansing as the required first step before any treatment product goes on. Leaving skin very slightly damp — not dripping, just not fully dry — helps a water-based serum spread more evenly and absorb faster.
Step 2: Apply Any Targeted Treatment Before Your Serum
If you’re using a prescription treatment or a targeted spot product — like an acne patch or a retinoid — apply it directly after cleansing, before the serum. The AAD’s routine order puts medication or treatment right after cleansing, ahead of moisturizer, so actives land on clean skin rather than getting layered under other products first.
Step 3: Dispense the Right Amount
According to Skin Type Solutions’ dermatologist guidance, about 1/8 teaspoon of serum — roughly 3–4 drops from a dropper bottle — is enough to cover the full face. Dispense it onto the back of your hand first rather than dripping it directly onto your face, so you can control how much you’re picking up with your fingers.
Step 4: Press It In With Small Circular Taps
Use your fingertips to press the serum into cheeks, forehead, nose, and chin with a small circular tapping motion, as Skin Type Solutions advises, rather than dragging or rubbing. Save the delicate skin around the eyes for last, and use your ring finger there specifically — the AAD notes it’s the weakest finger and applies the least pressure to that area.
Step 5: Layer Thinnest to Thickest
Skin Type Solutions applies moisturizer straight after the serum, while the skin is still damp, and says there’s no need to wait between steps; putting moisturizer on right away helps stop some of the serum’s ingredients from evaporating. If you layer several products, go thinnest to thickest, with thicker or oil-based serums last.
Step 6: Seal With Moisturizer, and SPF in the Morning
Finish with a moisturizer to lock in the serum, and in the morning, follow with a broad-spectrum sunscreen — the AAD places sunscreen right alongside moisturizer as the routine’s final step. Skipping SPF is one of the fastest ways to undo whatever a brightening or anti-aging serum was doing in the first place.
The Right Serum Makes the Routine Easier
The technique above works with any serum, but a few formulas make it easier to get consistent results day to day.
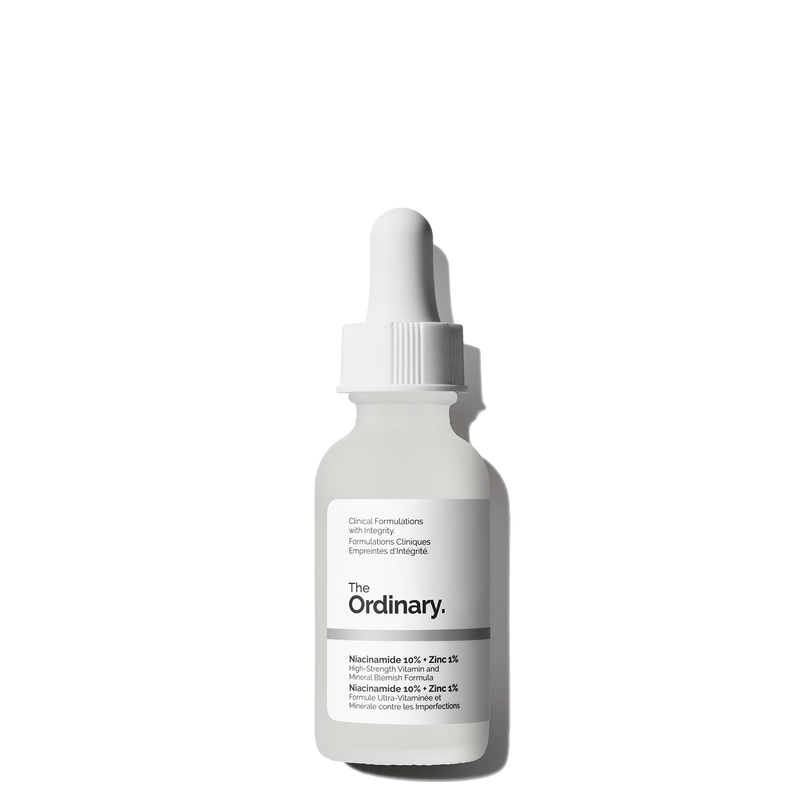
The Ordinary Niacinamide 10% + Zinc 1%The Ordinary Niacinamide 10% + Zinc 1% — a lightweight, budget serum that layers easily under moisturizer without pilling.
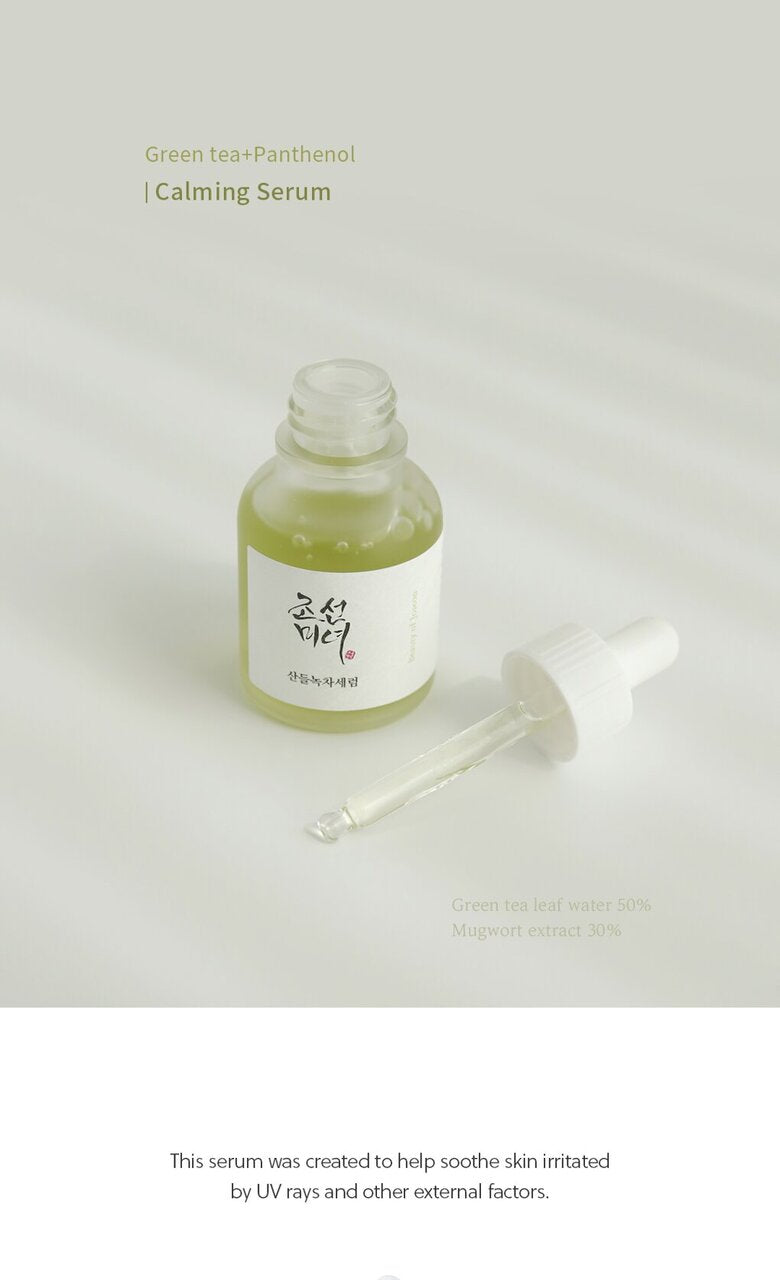
Beauty of Joseon Calming SerumBeauty of Joseon Calming Serum — a water-first formula that absorbs quickly, good for sensitive or reactive skin.
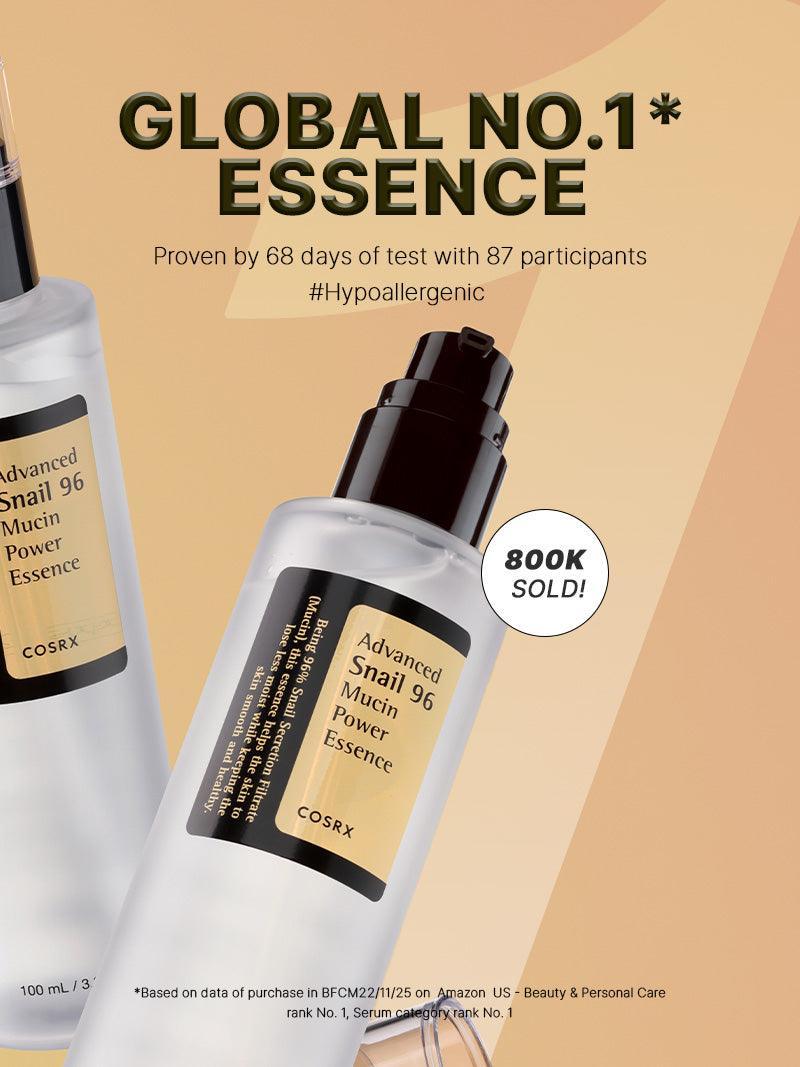
COSRX Snail Mucin 96% EssenceCOSRX Snail Mucin 96% Essence — a slightly tackier texture that benefits most from the damp-skin application in Step 1.
Ready to seal the routine with sunscreen? See our EltaMD UV Clear SPF 46 review →See our EltaMD UV Clear SPF 46 review →