How to Install a Dash Cam in Your Car: Step-by-Step (2026)
A clean dash cam install takes under 90 minutes and starts with picking a mounting spot that’s actually legal in your state.

How We Researched
Steps drawn from Nexar‘s hardwire installation guide and RecordingLaw.com‘s state-by-state windshield mounting rules, cross-checked against our own dash cam reviews. No manufacturer paid for placement.
What You’ll Learn
- Where you can legally mount a dash cam in your state
- How to clean the glass and attach the mount without it slipping
- How to route the power cable so it’s hidden, not dangling
- How to wire a hardwire kit for 24/7 parking mode
- How to connect GPS, Wi-Fi, and the companion app
- How to test the angle and confirm it’s recording before you drive off
2 dash cams referenced in this guide
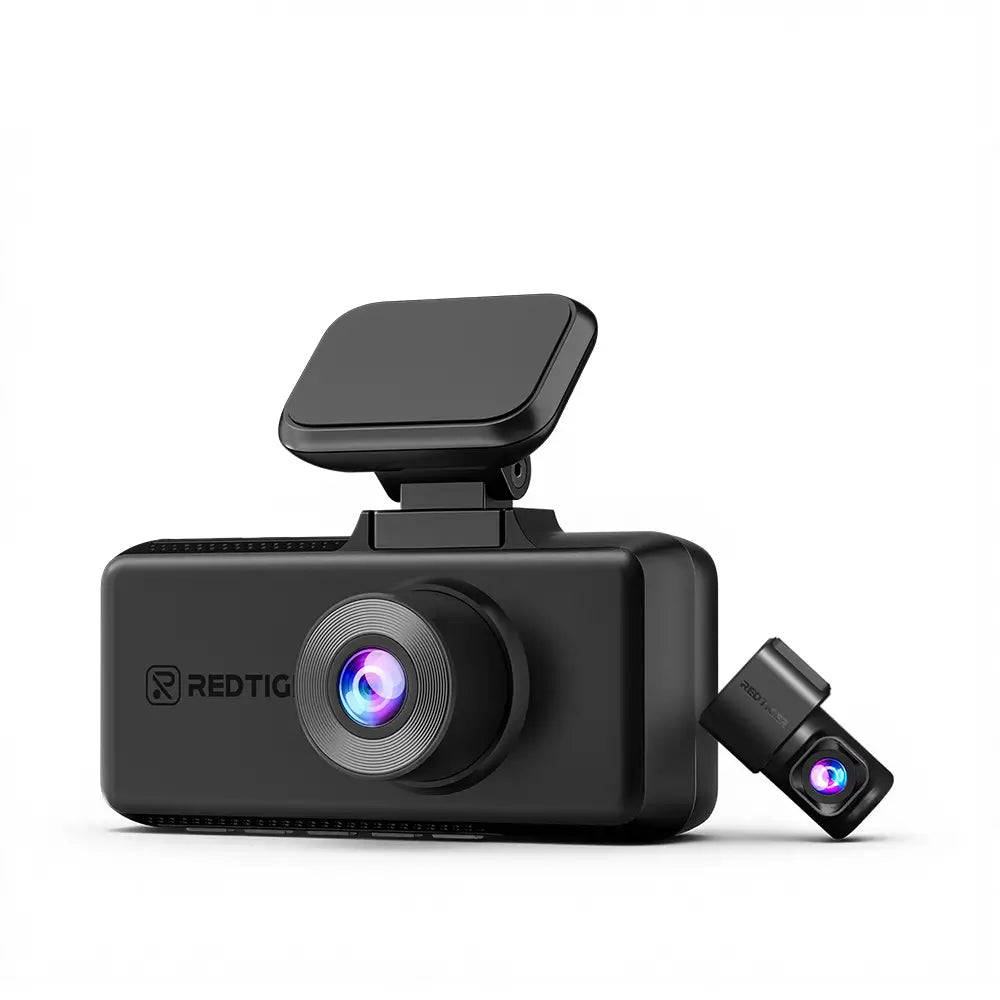
How do you install a dash cam in your car so it stays out of your sightline, keeps recording overnight, and doesn’t leave wires hanging across the dashboard? The process takes about 45 to 90 minutes and comes down to six steps: pick a legal mounting spot, clean and attach the mount, route the cable, wire it for parking mode if you want 24/7 coverage, set up GPS and the app, then test the angle before you drive off.
Choose a Legal Mounting Spot
Every state treats windshield-mounted devices a little differently, and the wrong spot can mean a fix-it ticket even if the dash cam itself is perfectly legal to own. According to RecordingLaw.com‘s state-by-state breakdown, most states require the mount to sit outside the driver’s direct sightline — directly behind, slightly above, or slightly below the rearview mirror is the safest default, and it’s the only legal placement allowed in Minnesota. States that permit lower-corner mounting cap the footprint tightly: Indiana limits passenger-side mounts to 4 inches square, while Arizona allows 5 square inches on the driver’s side and 7 on the passenger side. If you’re unsure, or you drive across state lines often, a dashboard mount sidesteps the windshield-obstruction question entirely — it’s legal everywhere.
Clean the Windshield and Attach the Mount
Wipe the glass behind the mirror with a lint-free cloth and a little rubbing alcohol before sticking anything to it — dust, road film, and old adhesive residue are the main reasons suction cups and adhesive mounts fail within the first week. Press the mount flat, hold it for 20–30 seconds, and give adhesive mounts a few hours to cure before hanging the full camera weight off them. Center the lens behind the mirror so it captures the full width of the road ahead without picking up your dashboard or hood in frame, and angle it so the horizon line sits roughly in the middle third of the shot.
Route the Power Cable Along the A-Pillar
A cable hanging loose across the dashboard is both a distraction and the first thing to snag when you’re getting in and out of the car. Tuck the cable into the gap between the windshield and the headliner using a plastic trim tool — never a metal screwdriver, which can damage the trim or, near the A-pillar, puncture a side curtain airbag. Most A-pillar trim panels pop off by hand or with light tool pressure, letting you run the cable down behind it to the footwell before pressing the trim back into place. From there, decide whether you’re plugging into the 12V accessory socket (fastest, works immediately, but usually stops recording once the ignition is off) or wiring a hardwire kit for always-on parking mode — the next step covers that option.
Wire a Hardwire Kit for 24/7 Parking Mode
A hardwire kit is optional, but it’s the only way to get true 24/7 parking-mode recording without a separate battery pack. Per Nexar‘s installation guide, most kits use the same three-wire setup regardless of dash cam brand. Locate your fuse box — usually under the dash, behind a kick panel, or in the glove compartment; the owner’s manual has the exact diagram. Using the fuse taps included with the kit, connect the yellow wire to a fuse that stays powered with the ignition off (constant power) and the red wire to a fuse that only powers on with the ignition (switched/ACC power) — most dash cams use that pairing to sense when the car is off and drop into low-power parking mode. Connect the black ground wire to a bare, unpainted metal bolt on the chassis, not a screw threaded into plastic trim. Start the car and confirm the camera powers on normally, then turn it off and check that the parking-mode indicator appears instead of the camera shutting down completely.
Set Up GPS, Wi-Fi, and the Companion App
Most current dash cams, including the Garmin Dash Cam X310Garmin Dash Cam X310 and REDTIGER F17REDTIGER F17 below, pair with a phone app over Wi-Fi for footage transfer, live preview, and settings changes you’d otherwise need the camera’s small screen to make. Download the manufacturer’s app, follow the in-app pairing steps (usually a QR code scan or Wi-Fi network search), and confirm GPS lock — a solid GPS signal timestamps every clip with location and speed, which matters if footage ever needs to support an insurance claim. Format the microSD card through the camera’s own menu the first time rather than a computer, since that sets up the folder structure loop recording expects.
Test the Angle and Confirm It’s Recording
Before you drive off, record a short test clip and play it back on the camera screen or through the app. Check that the horizon sits level, both lanes are visible edge to edge, and there’s no reflection from the dashboard or windshield trim creeping into frame — reposition the mount now rather than discovering a glare problem after an incident. Drive around the block once with driver-assist features like collision detection and lane alerts left on their default settings, then turn off any alerts that trigger too often on normal turns; false-positive warnings are a common complaint on several dash cams’ collision-alert systems and are usually adjustable or disable-able in the settings menu.
The Right Gear Makes It Easier
Not sure which dash cam to install in the first place? These two cover different budgets and use cases.
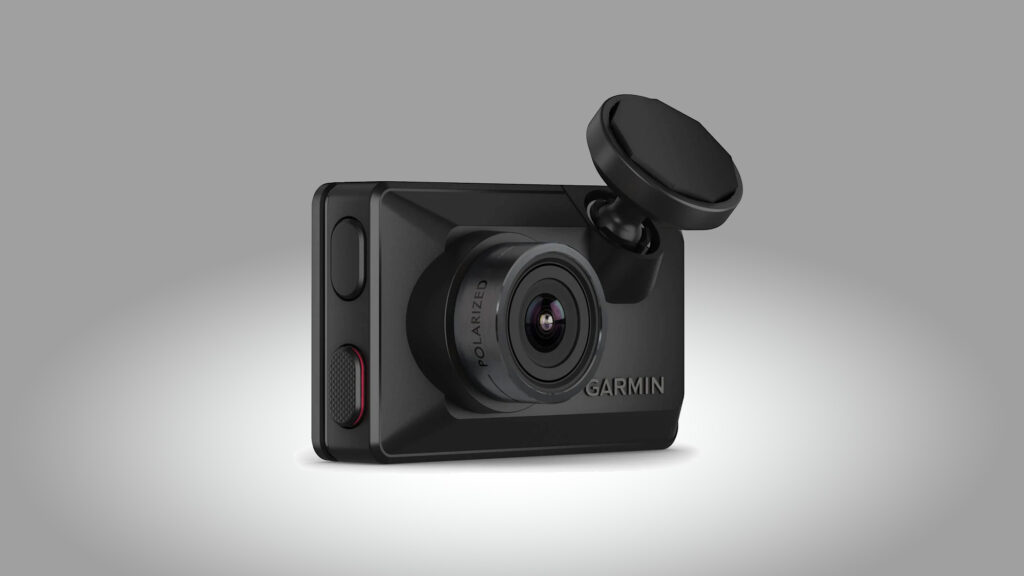
Garmin Dash Cam X310Garmin Dash Cam X310 — its built-in Clarity Polarizer cuts windshield glare during setup and everyday driving, and the touchscreen makes aiming the lens correctly in Step 2 easier than a button-only camera.
REDTIGER F17 4K 3-Channel Dash CamREDTIGER F17 4K 3-Channel Dash Cam — a 3-camera front/cabin/rear kit means three separate cable runs during Step 3, but it covers rideshare and delivery drivers who need cabin footage too.
Still deciding which dash cam to buy? See our Best Dash Cams 2026: 4 Top Picks for Every Driver and Budget →See our Best Dash Cams 2026: 4 Top Picks for Every Driver and Budget →